Not all petrolheads are lucky enough to have an endless driving season. Most of us are stuck with at least a few weeks, or months, where our beloved rides are parked and waiting for the snow, or more importantly the salt, to clear from the roads so we can resume enjoying our cars the way they were meant to be enjoyed.
The down time can be tough, but those winter months are a great time to seek out less time-sensitive projects. While we often think of “winter projects” as items that require high degrees of skill, not everything worth doing when your car’s off the road need be that intense. Here are do-it-yourself suggestions for all skill levels during the colder weather.
Paint correction
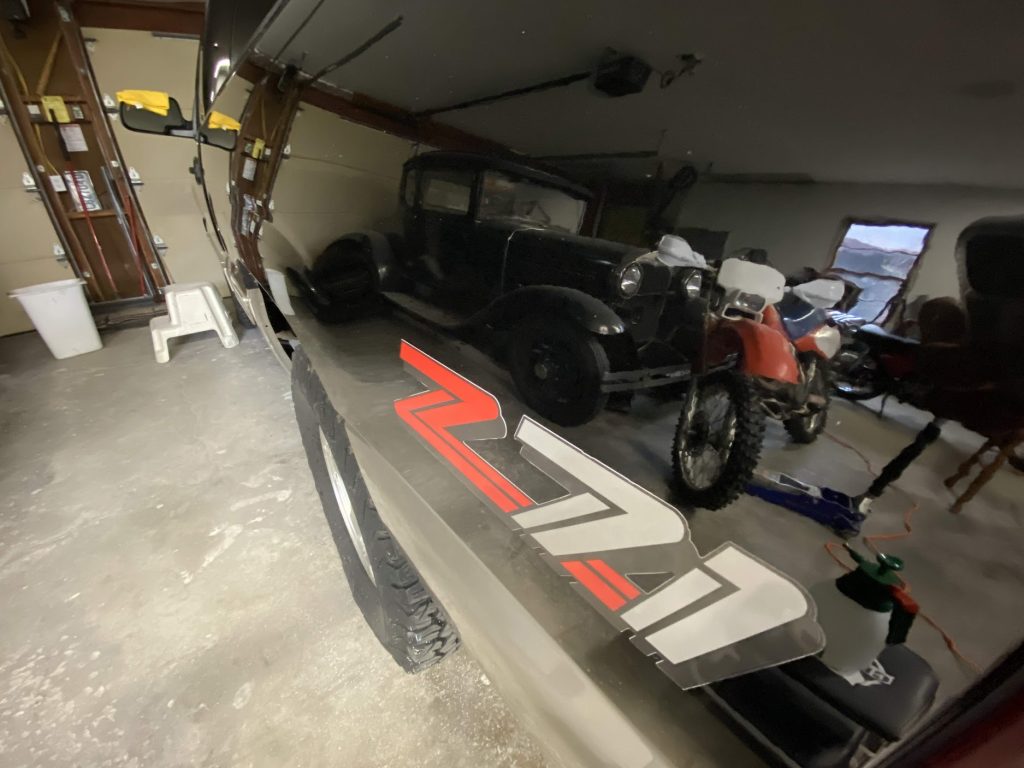
The first thing that most notice about a car is its form, but the second is the paint. Long periods of storage are the perfect time to give aging paint the attention it deserves. If you wash your car religiously, there will inevitably be small scratches that build up and cause a light haze in the paint. A light hand polish is a good starting point and you have all winter so don’t be afraid to take breaks and stop to admire your work. And remember to work on one panel at a time.
Heavier scratches might require the use of power tools – see our guide to removing swirl marks here. If that’s the case, be sure to get comfortable with how the tool and compound works on a test piece before tackling your bonnet. A full paint-strip and respray is a large and costly task for any time of the year – caring for the paint you already have is not.
Wheel refresh
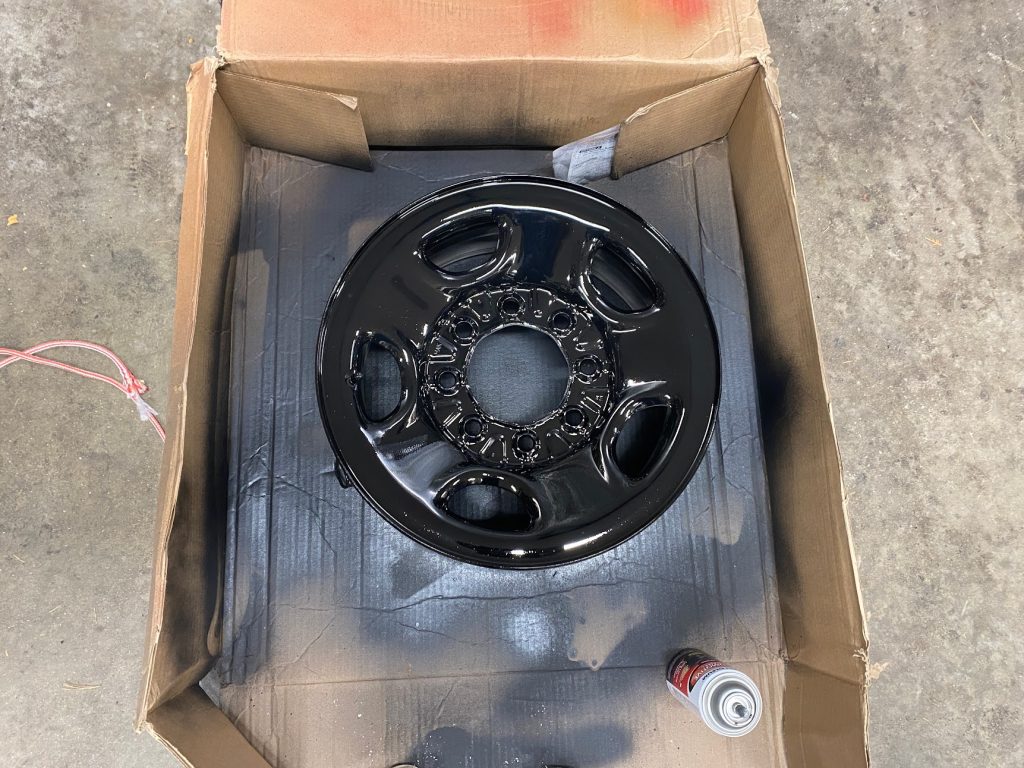
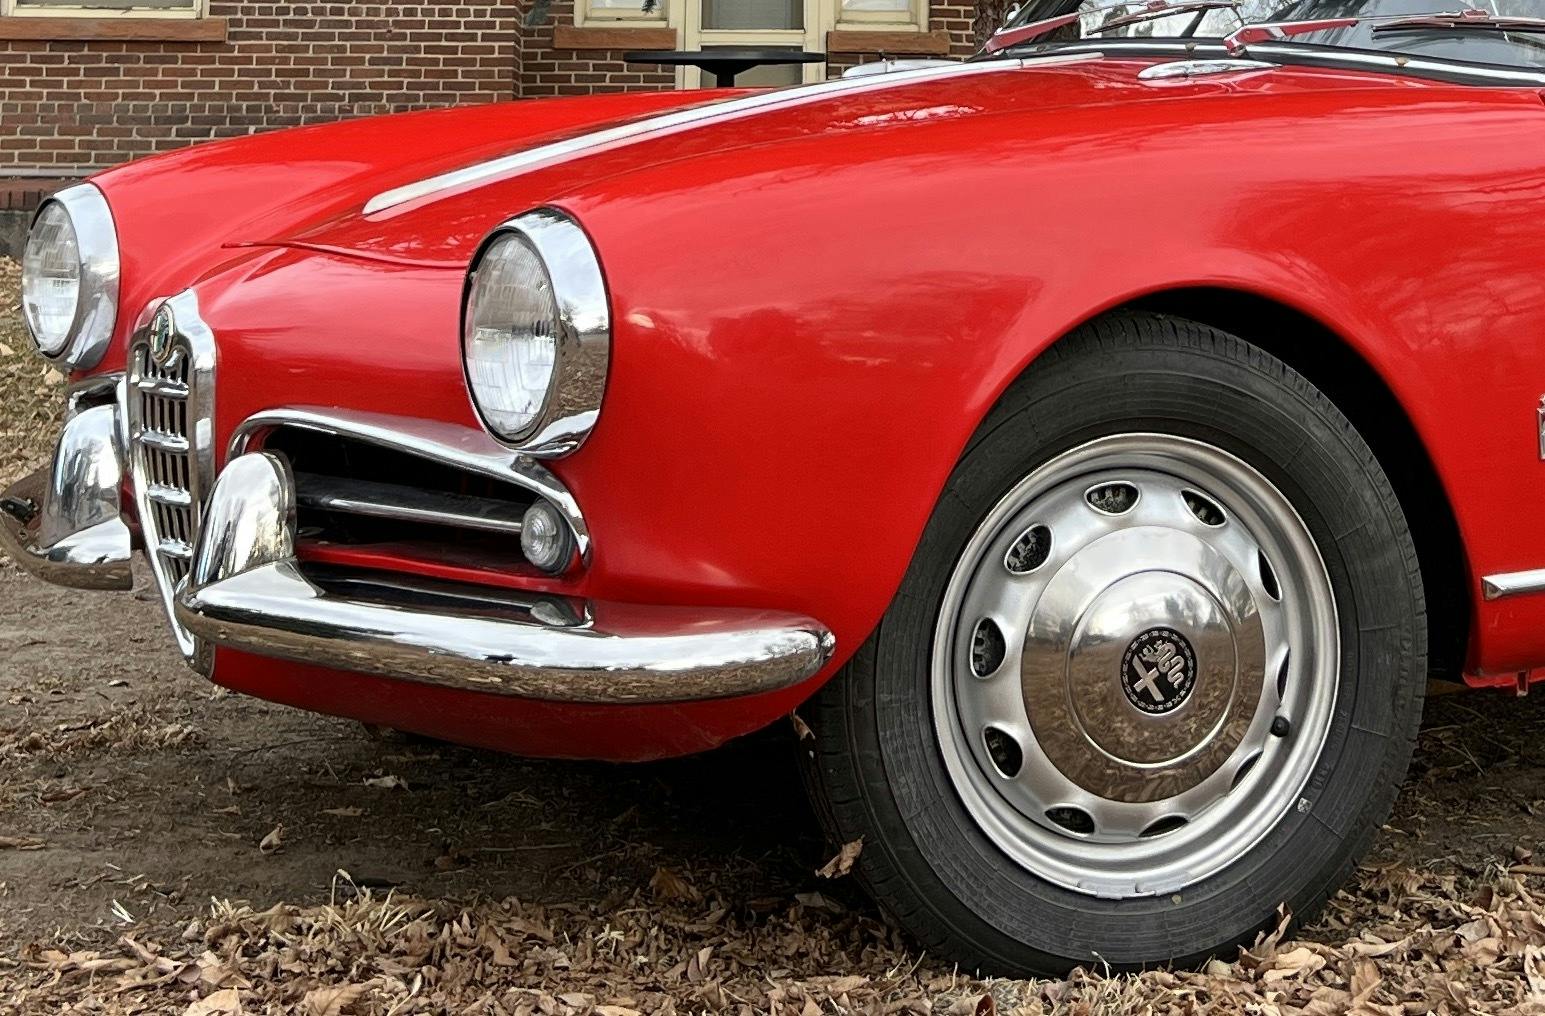
You aren’t going to miss out on all that many drives or events at this time of year, so might as well put the car up on jack stands, remove the wheels and give them a refresh. A fresh coat of paint or even just a deep clean can improve the appearance of your car more than most appreciate. For example, there are masking kits and rattle-can paint kits for specific models that can make refreshing your wheels easier than ever. You can even leave the tyres on to do the work.
Wiring inspection
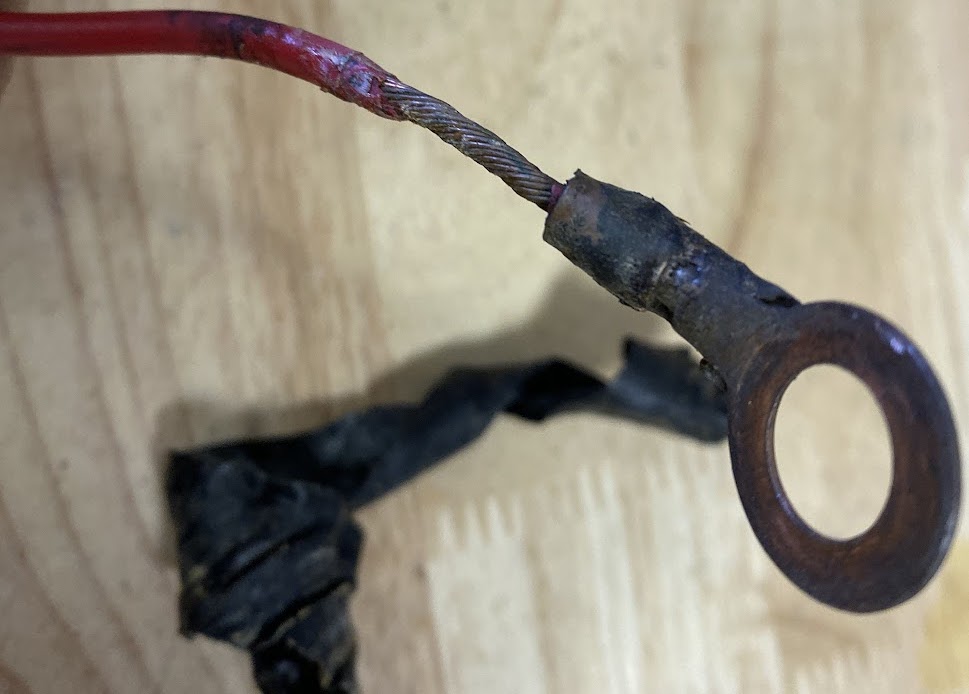
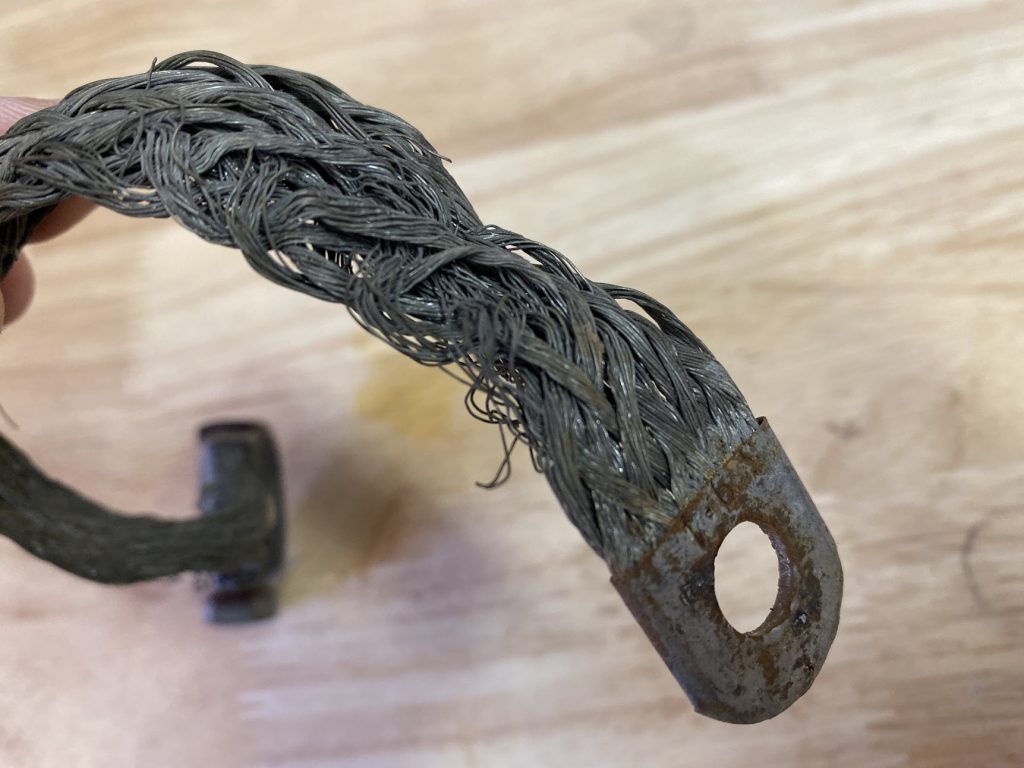
Yes, we know you hate wiring. That’s part of why this suggestion is involves inspecting the wire, and nothing more. A loose earth, worn-through insulation, or a weak connection can all conspire to leave you stranded on the side of the road or spending hours searching for the issue when your car is acting up.
Take the time now to pore over the wiring harness and make sure it’s in tip-top condition. This can often can be done with just a decent pair of eyes, but if something looks out of place or wrong, you might need a multimeter – which we suggest having around your garage anyway.
Fluid flushes
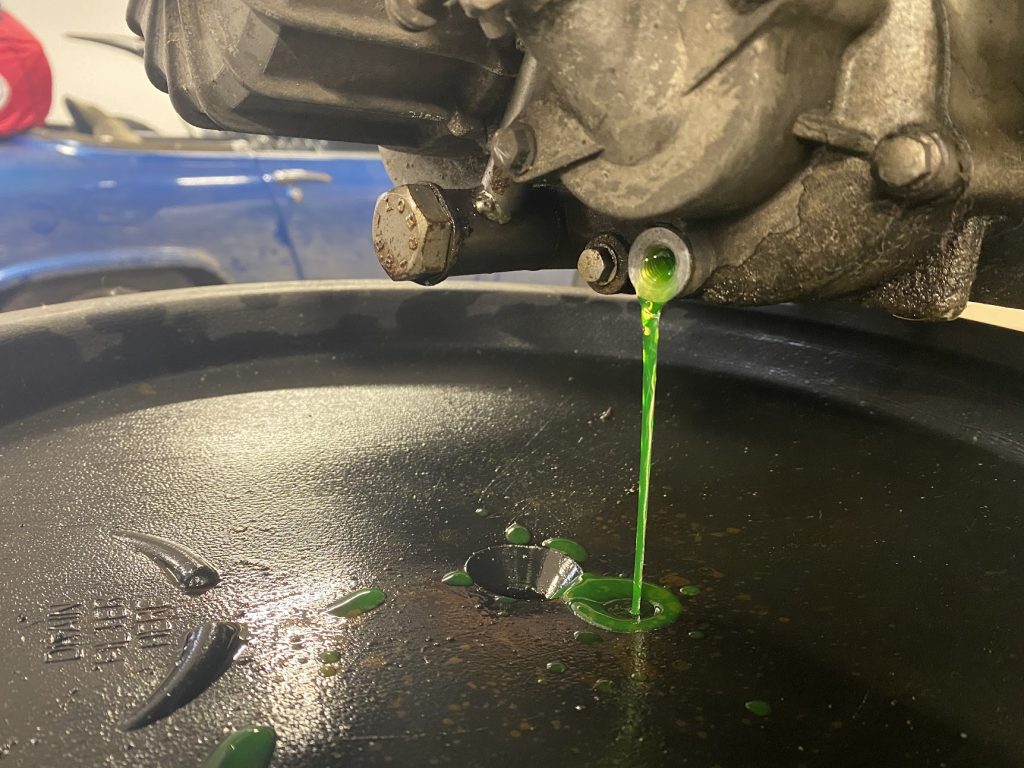
When is the last time you changed your coolant? Brake fluid? If you don’t know or the date is beyond a few years, you should pick up a few bottles at the parts store and get out your drain container. Even with sparing use, fluids age. Flushing is cheap insurance against corrosion and unplanned failure.
This can be as simple as a drain and fill, and get as complicated as pushing fresh fluid through the brakes without introducing air. Take the time to get this right, and you can be confident that overheating or a soft brake pedal won’t plague your drive come spring.
A chassis lube
It used to be a part of regular service, but now is rarely talked about since these cars rarely rack up miles like they did when new. Grab a grease gun and push in fresh grease to any chassis fittings outlined in your service manual. Don’t forget the door latch mechanisms, and all the bonnet or boot hinges for extra credit.
Steering box adjustment and steering system inspection
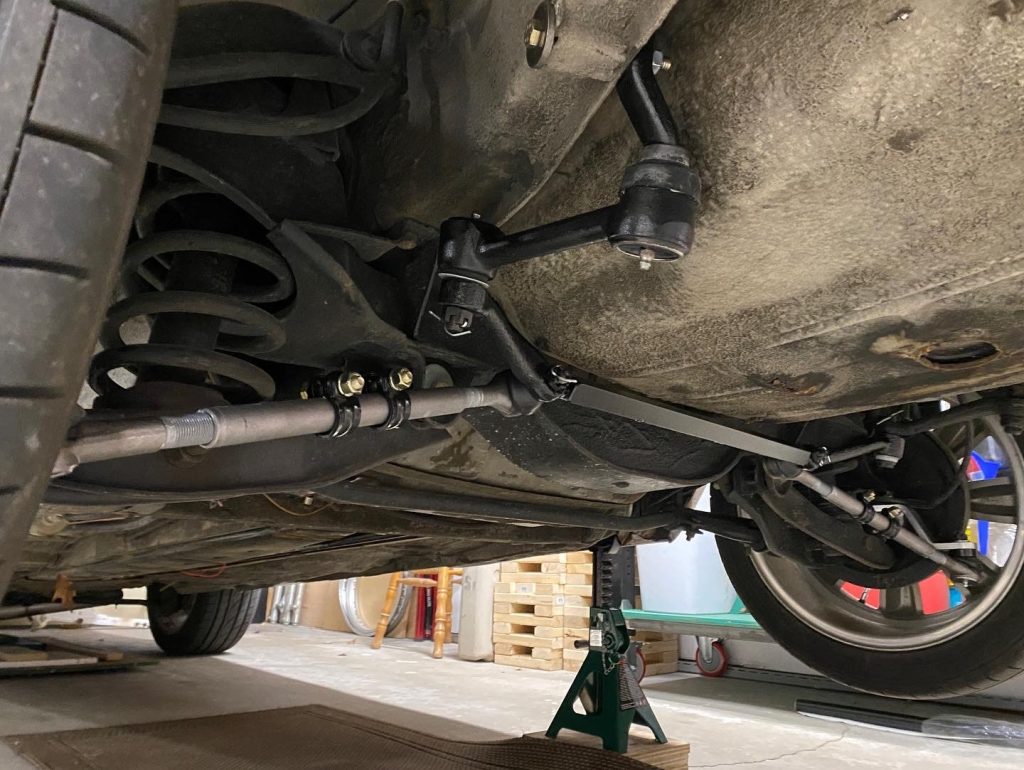
Most folks think slightly wandering steering in an old car simply comes with the territory – but it might not have to be that way. Most steering boxes have a point of adjustment that can remove some slop and play from the system. Or an inspection may reveal it’s time to have items rebuilt. Combine this with a check of the rest of the steering components (track rod ends, pitman arms, ball joints, etc), and you will turn into your spring cruise in with a little extra confidence.
LED bulbs
It only takes a few minutes driving among today’s vehicles to realise that modern headlights and taillights are bright. Classic cars’ lights are, well, not. Incandescent bulbs were pretty good for a long time but it is easier than ever to retrofit your vintage ride with light emitting diode (LED) bulbs that put out more light while drawing less power. Win/win, especially when you add in that LEDs also last longer and fit into factory sockets in most applications.
[Editor’s note: While we left this one in from the original US article as changing some bulbs to LEDs can be a worthwhile upgrade, upgrading incandescent headlights with LEDs is not currently legal in the UK.]
Research
This one is for those of you who don’t want to pick up tools or have cars that need to be stored away from home. Find a book that documents the history of your car or its manufacturer and get to reading. Learn at least one new thing and be sure to share it next time someone strikes up conversation while you are out and about.
Leather cleaning and conditioning
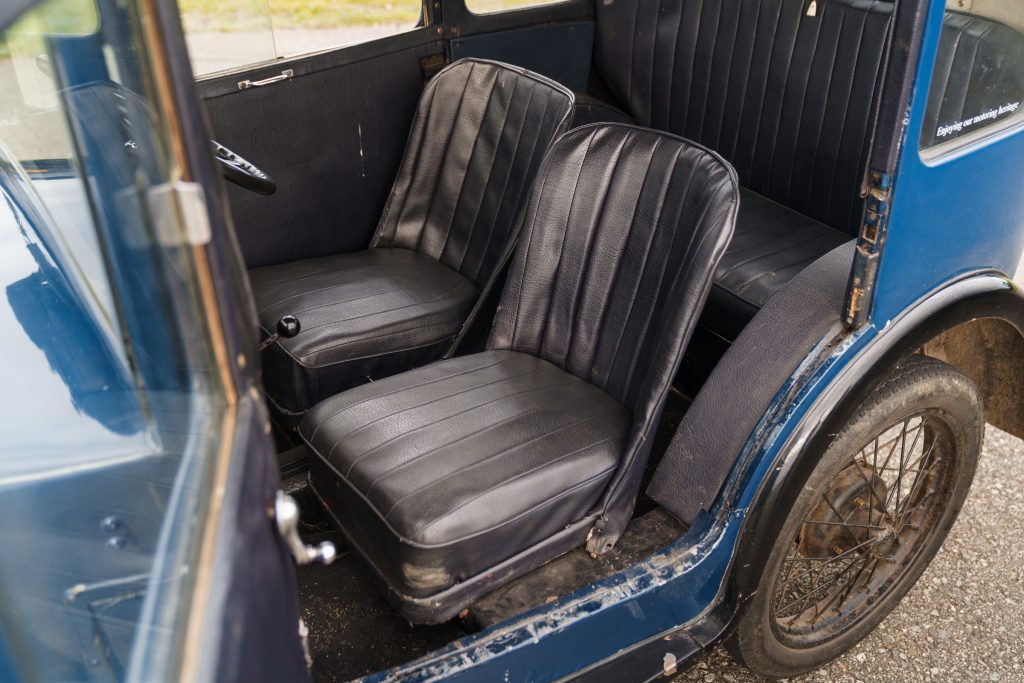
Your interior ages slowly enough that you might not even realise how dirty it is. Reach into the cleaning solutions drawer and get your leather or cloth seats cleaned up. Bonus points if you deep clean your carpet while you’re in there. These chemicals often need a little time to dry, making winter storage the perfect time to ensure that everything gets clean and dry before use.
Spare-tyre inflation check
We hope you don’t need it either, but you certainly want your spare tyre to be ready if you do. Roll under the car or pull off the cover and inspect that spare tyre. You might need to replace it completely, or just add some air to make sure it’ll be ready to roll in a sticky situation.
Under-bonnet rubber inspection
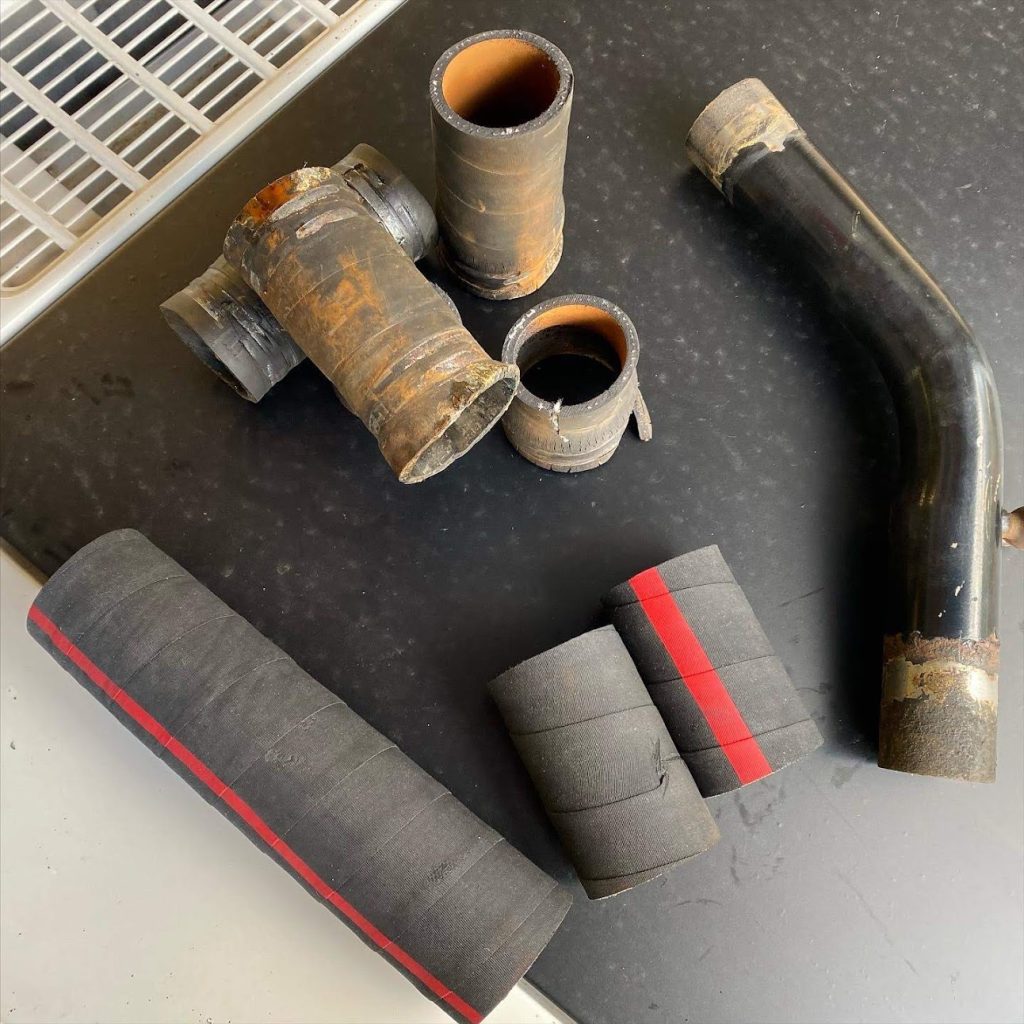
Similar to inspecting your wiring, grab a torch and get under the bonnet to check on your rubber hoses and lines. Engine compartments get hot, and that takes its toll on rubber pipework. If the hoses are getting stiff or showing any signs of cracking, it’s time to replace them.
Yes, we saw The World’s Fastest Indian too, but filling those cracks with shoe polish is a cosmetic plaster, not a savvy fix. If you want to prevent an exploding hose from leaving you stranded, skip the polish and head to the parts store.
This article was originally published on Hagerty US.
Read more
The 6 most complicated restoration steps
Stocking fillers: 8 of the best car books we’ll be reading this Christmas
4 critical steps for winter storage prep






The legislation regarding LED bulbs is years out of date ! I use LED headlight bulbs in my 7″ headlights that have the reflector controlling the beam pattern, rather than the lens. They are a fantastic step-up from the old Halogen bulbs, and I can now see the road more clearly at night in my 1972 classic than in my 2004 “modern”. The beam pattern is very very good and passed an MOT last year perfectly well. I shall continue to use them. I still have an MOT test annually, for safety reasons and peace of mind. If they fail the test in 2023, I shall temporarily fit “normal” bulbs for a re-test and swap back to my superior LED’s afterward. The were purchased from Classic Car LED’s at around £70 the pair. This company isn’t fly-by-night, and ave them made to their own standards.
That’s interesting to hear Andy – I’ll look into the new legislation Neil posted in these comments too and will adjust the article accordingly.
Andy Gill is correct. The previous regulations prohibited any conversions of halogen headlights, now they just restrict certain conversions on post-31/3/86 vehicles – the change was made in March ’21. (Which is just as well as I’m planning on doing mine next year.)
“Existing halogen headlamp units on vehicles first used on or after 1 April 1986 must not be converted to be used with high intensity discharge (HID) or light emitting diode (LED) bulbs. If such a conversion has been done, you must fail the headlamp for light source and lamp not compatible.
This does not refer to complete replacement headlamp units which may be constructed with HID or LED light sources.
If a complete headlamp unit has been replaced with a unit that was manufactured with HID or LED light sources, it must not be failed for ‘Light source and lamp not compatible’ but it must meet all other requirements detailed in section 4 of this manual specific to the type fitted at the time of test.”
https://www.gov.uk/guidance/mot-inspection-manual-for-private-passenger-and-light-commercial-vehicles/4-lamps-reflectors-and-electrical-equipment#section-4-1-4
The change is summarised here:
https://www.gov.uk/guidance/mot-inspection-manual-for-private-passenger-and-light-commercial-vehicles/4-lamps-reflectors-and-electrical-equipment
Thanks for the additional information Neil – I’ll look into this and change the article as required.