Wheel cleaning is a big subject. I’ve touched on it briefly in a previous column, but while it’s an aspect common to cleaning all cars and motorcycles, the variety of different wheel types – from modern anodised finishes to wire wheels, chrome surfaces, diamond cut, powdercoated wheels and so on – means it deserves an article of its own.
That’s before you get to all the products available and the best techniques for cleaning too, as both areas have changed a lot over time and some of the old options have narrowed down a little compared to a few years back.

Acid test?
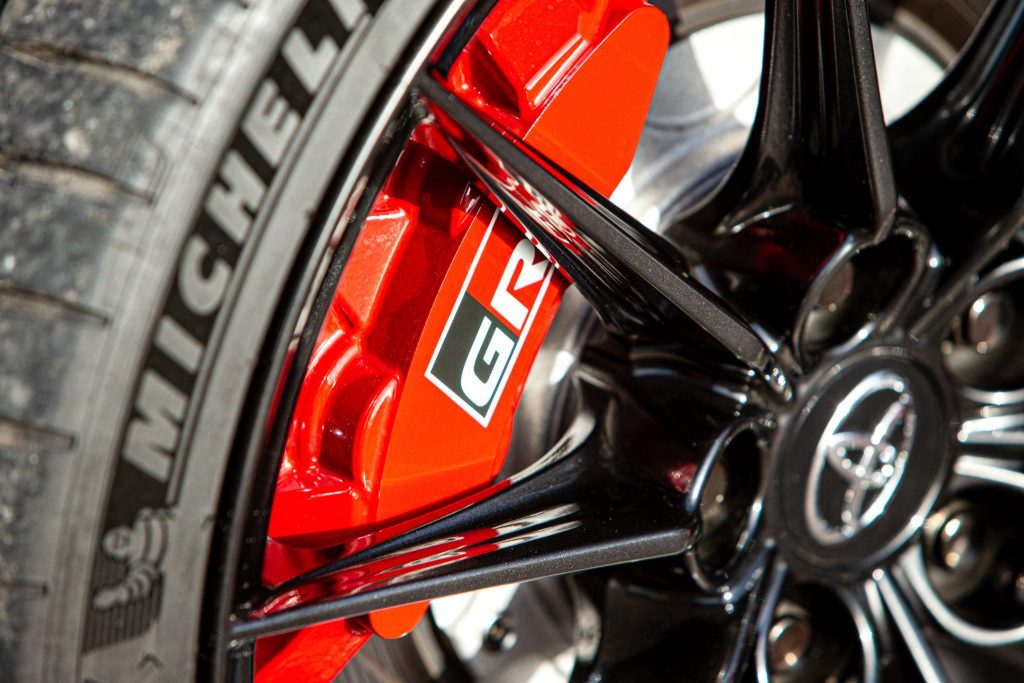
In the past, most wheel cleaners were acid-based, as it was the only thing really effective at cutting through the iron brake dust from pads and discs. Cleaners tended to use phosphoric acid, which was incredibly effective but also highly corrosive – it could tarnish painted wheels and leave staining and streaking in clearcoat finishes.
It also had a nasty habit of attacking the plastic of centre caps and the like, and also corroding brake calipers and disc hubs. That’s before you get to the health risks of breathing in the fumes or burning your skin… and ending up in drainage systems, and even its habit of staining your driveway, as the phosphoric acid eats into the lime in bricks. You can still find acid-based cleaners today, but I haven’t touched them for probably 15 years or more.
What to use
Thankfully, there are better options today. A good multi-purpose cleaner or MPC, a traffic film remover (TFR) or a highly-diluted degreaser can work very well. This dilution rate is essential – engine cleaning can require higher concentrations, and fabric cleaning much lower ones, with wheels somewhere in the middle. Always follow the instructions on the product.
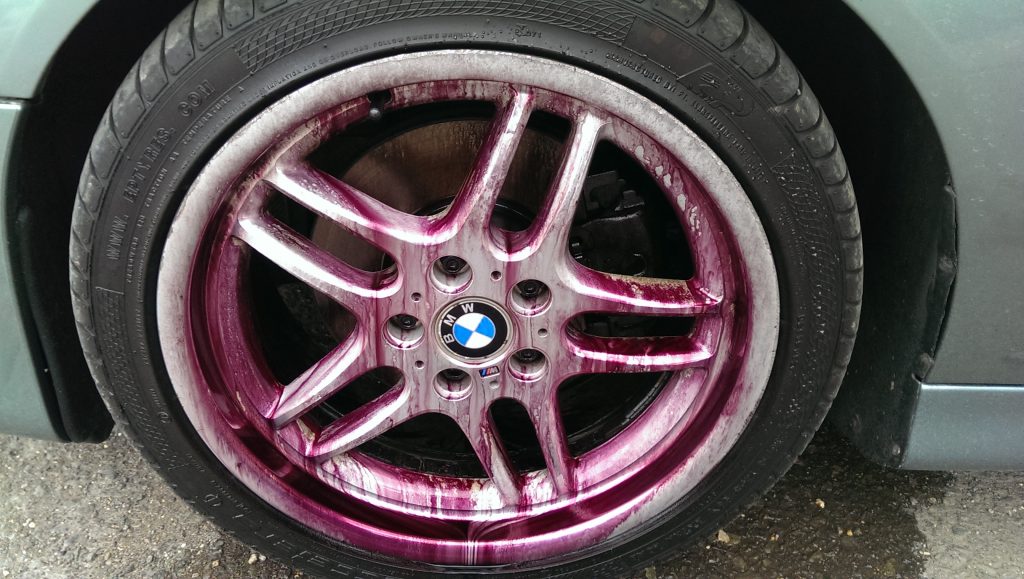
Another commonly used and very effective product which many of you have probably heard of is a deionising gel, like Kenotek. These chemicals actually change colour when applied to the surface, as they react with the iron from the discs and pads, turning purple. They can give off quite a pungent, almost eggy smell, which can be offputting. But don’t be alarmed if your wheels turn purple, as that’s precisely what it’s designed to do.
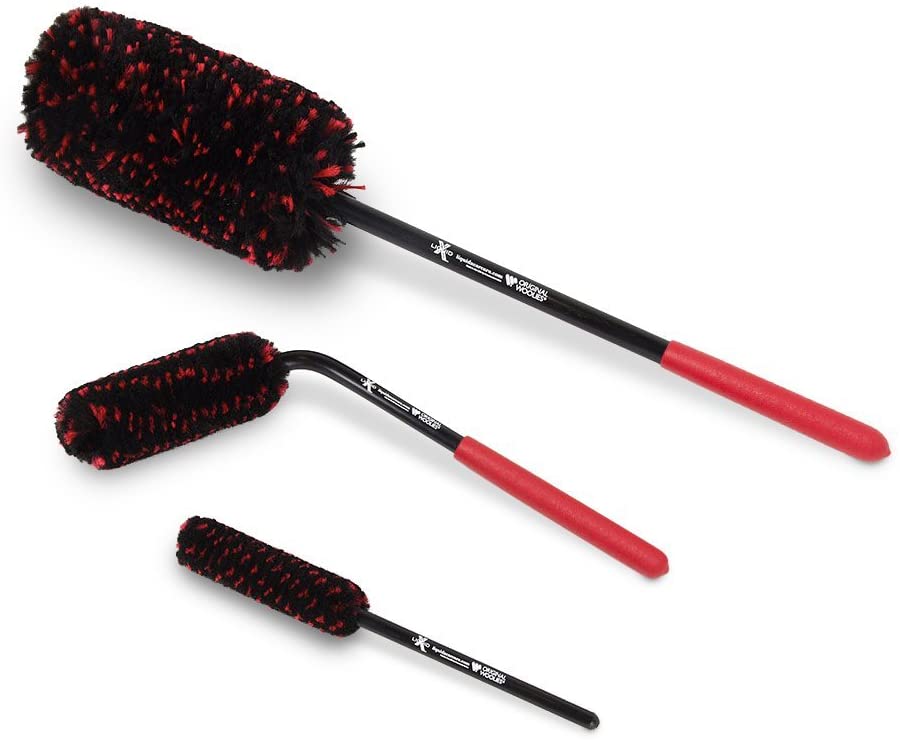
Finally, I use a range of products called Wheel Woolies. You get three or four different brushes in a pack for just over 40 quid. They’re actually made of microfibre wools but they act as a brush, with some long and thin to get between say, BBS cross-spokes, and others designed to reach to the back of the wheels or around the calipers and into wheel lug recesses where space can be tight.
How to clean your wheels
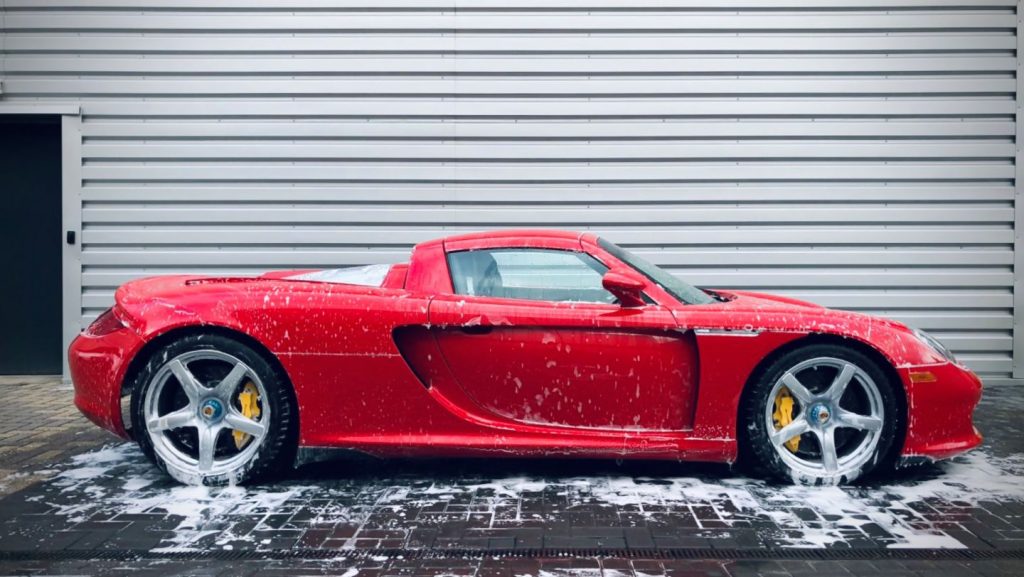
Now you’ve got the right tools, it’s time to work on the wheel itself. Firstly, make sure the wheel is cold, as heat can change the way a product reacts, and it makes the job more difficult if the chemicals are allowed to dry onto the surface. And always do one wheel at a time!
To remove the chance of streaks, it’s good practice to start from the bottom of the wheel and work up (though a correctly diluted product shouldn’t streak in the first place), allow it a moment or two to take effect, and use the Wheel Woolies or similar to clean out the debris from in and around the wheel. With the decon gels, these typically need three to five minutes to dwell on the surface, before brushing in the same way.
Then I’ll use a hose or pressure washer to remove all the debris I’ve just cleaned off. You want to avoid using high pressure directly to calipers and other potentially sensitive areas, but equally you should try and rinse all the product from all the surfaces you’ve cleaned.
Different techniques for different wheels
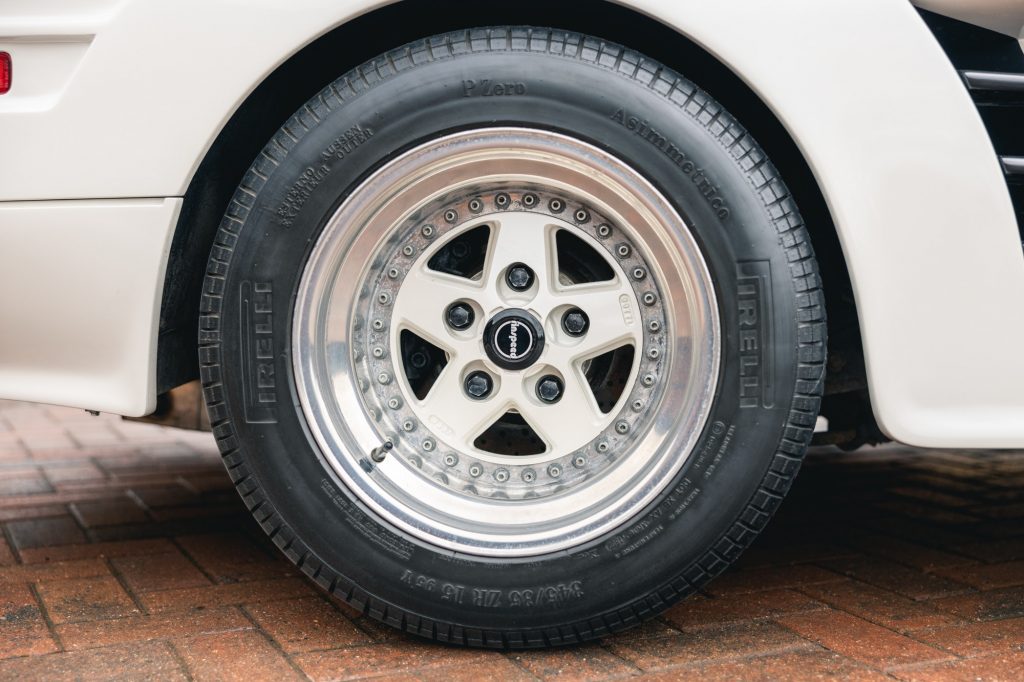
While the above covers most modern wheels, certain types of wheel do need special attention. Split rims often have different finishes, for instance a polished lip and painted centre. If that polished lip hasn’t been lacquered – or if it was from factory, but has since been removed during refurbishment – then you’ll want to avoid solvents and wash that polished area with soapy water, and then use a dedicated metal polisher relevant to the material – typically aluminium.
Chrome spoked wheels and wire wheels also present their own challenges. Typically fitted to older cars, they’re often greasy from hubs and spinners flicking grease up the spokes as the wheels rotate. Water-based chemicals won’t attack this grease so you’ll cover your cloths and brushes in grease if you don’t emulsify it with a solvent-based chemical first.
Tar and glue remover, WD40, GT85 and similar are all effective, as we’ve covered previously. Ideally though, you’ll want to use these products with the wheels removed from the car, so you’re not removing grease from areas that actually need it. Likewise, these solvents can be a risk to rubber, such as the gaiters on a Jaguar E-type, so always be sure to rinse any solvents off after cleaning.
Paint brushes and toothbrushes can be useful for getting into the tighter areas of spoked wheels. You’ll have to rinse more thoroughly too as all those points can act as water traps – maybe even use a blow dryer to push all the water out of the lugs for each spoke, and of course as these wheels are typically chrome, use a dedicated chrome polish to finish them off.
Delicate and diamond-cut
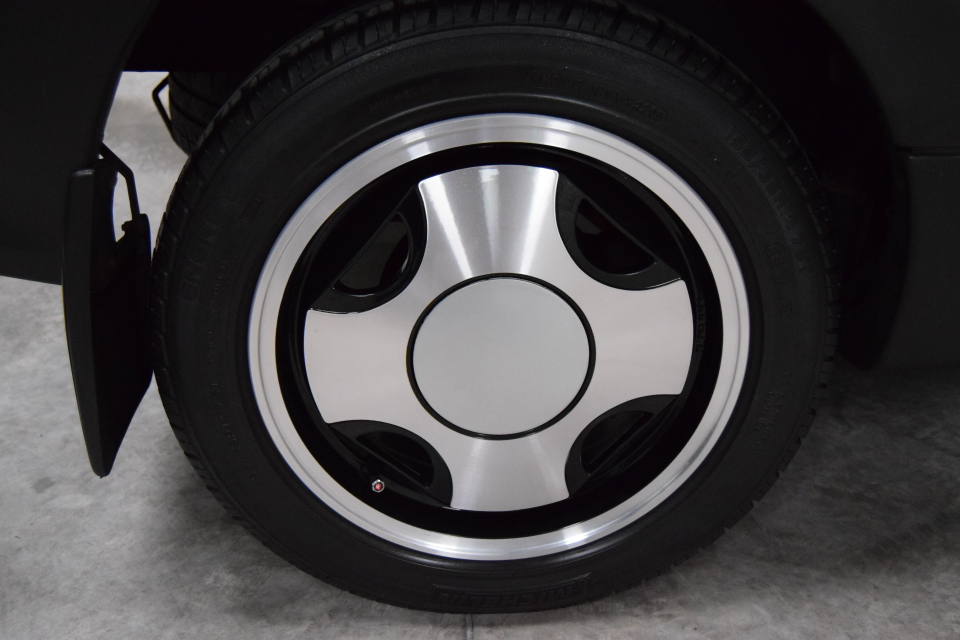
Some finishes need even more care. The old Fuchs wheels often fitted to Porsches are best washed with a deionising gel and wash it off as quickly as possible, or even just use soapy water, to avoid any caustic substance eating into the bare aluminium.
Diamond-cut wheels are worth mentioning too. They look great, but it takes just a tiny stone chip for moisture to get underneath any lacquer and corrode the aluminium beneath. There’s not a lot you can do to stop that happening, but if your diamond-cut wheels are damaged – or if you have normal wheels that have kerbing damage – just be cautious of using high-pressure water around those areas, as you’ll essentially be forcing water behind the clearcoat.
Final checks
So that’s basically it. Find the correct chemical for the type of wheel, dilute those chemicals properly, and rinse them off properly. Never clean your wheels while they’re hot, or in direct sunlight, do one wheel at a time and rinse immediately, and remove each wheel as necessary if it needs special care.
You can always jack up your car and rotate each wheel, or even just push the car backwards and forwards, to help you work around stubborn areas too. And if your wheels are kerbed, gloves are handy to avoid accidentally cutting your hands while cleaning…
Oh, and check your tyres while you’re there! It’s a great time to check the condition and tread – particularly the inside tread if you have a car with more negative camber, as a lot of people miss that their tyres are bald on the inside!
Read more
Elbow Grease: The secrets to removing bugs and flies from the front of a car
Elbow Grease: How to clean and detail an engine bay
Elbow Grease: Still washing cars with a sponge? You’re doing it all wrong

