Richard Tipper has been valeting cars of all shapes and sizes since 1989, and can spend up to a week detailing every inch of a car. He has gone through more cleaning accessories and products than you’ll find on the shelves of an automotive superstore. These are Tipper’s Tips for the Hagerty community.
I’ve taken you through the ins and outs of snow foam, how to wash a car, and explained why you’d want to rub a clay bar all over its precious paintwork, so the next step is, logically, polishing it. But if you’re still one of the majority of people that polishes their car by hand, I can let you into a little secret: it’s bloomin’ hard work, and you won’t get anywhere as near as good a result as you would using a rotary polisher.
Hand polishing can be very effective at adding gloss and applying a degree of protection in a single application, but it is labour intensive, tiring and often produces unsatisfactory results.

Paint varies dramatically, both in regards to the defects and issues that can be found and the way it reacts to being polished. Some surfaces can appear soft, others hard, some very thin whilst others are thick, some are covered in a clear coat lacquer and others are solids or sometimes both. Cellulose, two pack, single stage, lacquered, solvent based, water based, acrylic, ceramic, enamel, matte, triple layer, pearlescent… the list goes on.
Because of this, technology, techniques and legislation change quickly in the paint industry, and products and potions have to try and keep up. As a professional detailer it’s my responsibility to maintain awareness to ensure I’m capable of tackling these changes, and approach each car’s paint accordingly.
The paintwork of modern cars is normally made up of different layers. First, the bare metal body panel is coated with a primer, to ensure the paint adheres more efficiently to the surface and increases the paint’s durability. The base coat, which is the colour coat, is then sprayed on. Then, to protect that colour coat, a clear coat – or lacquer – is applied on top, forming a protective layer against fine damage and the harmful effects of ultraviolet light.
Now that all this has been highlighted, you may well be thinking, ‘Why on earth would I want to tackle the task of polishing a car myself?’ But the relatively recent introduction of rotary polishers is here to make the task a whole lot easier, if handled correctly. And like all DIY tasks, it will give you an immense amount of satisfaction as well as improving your car’s paint finish.
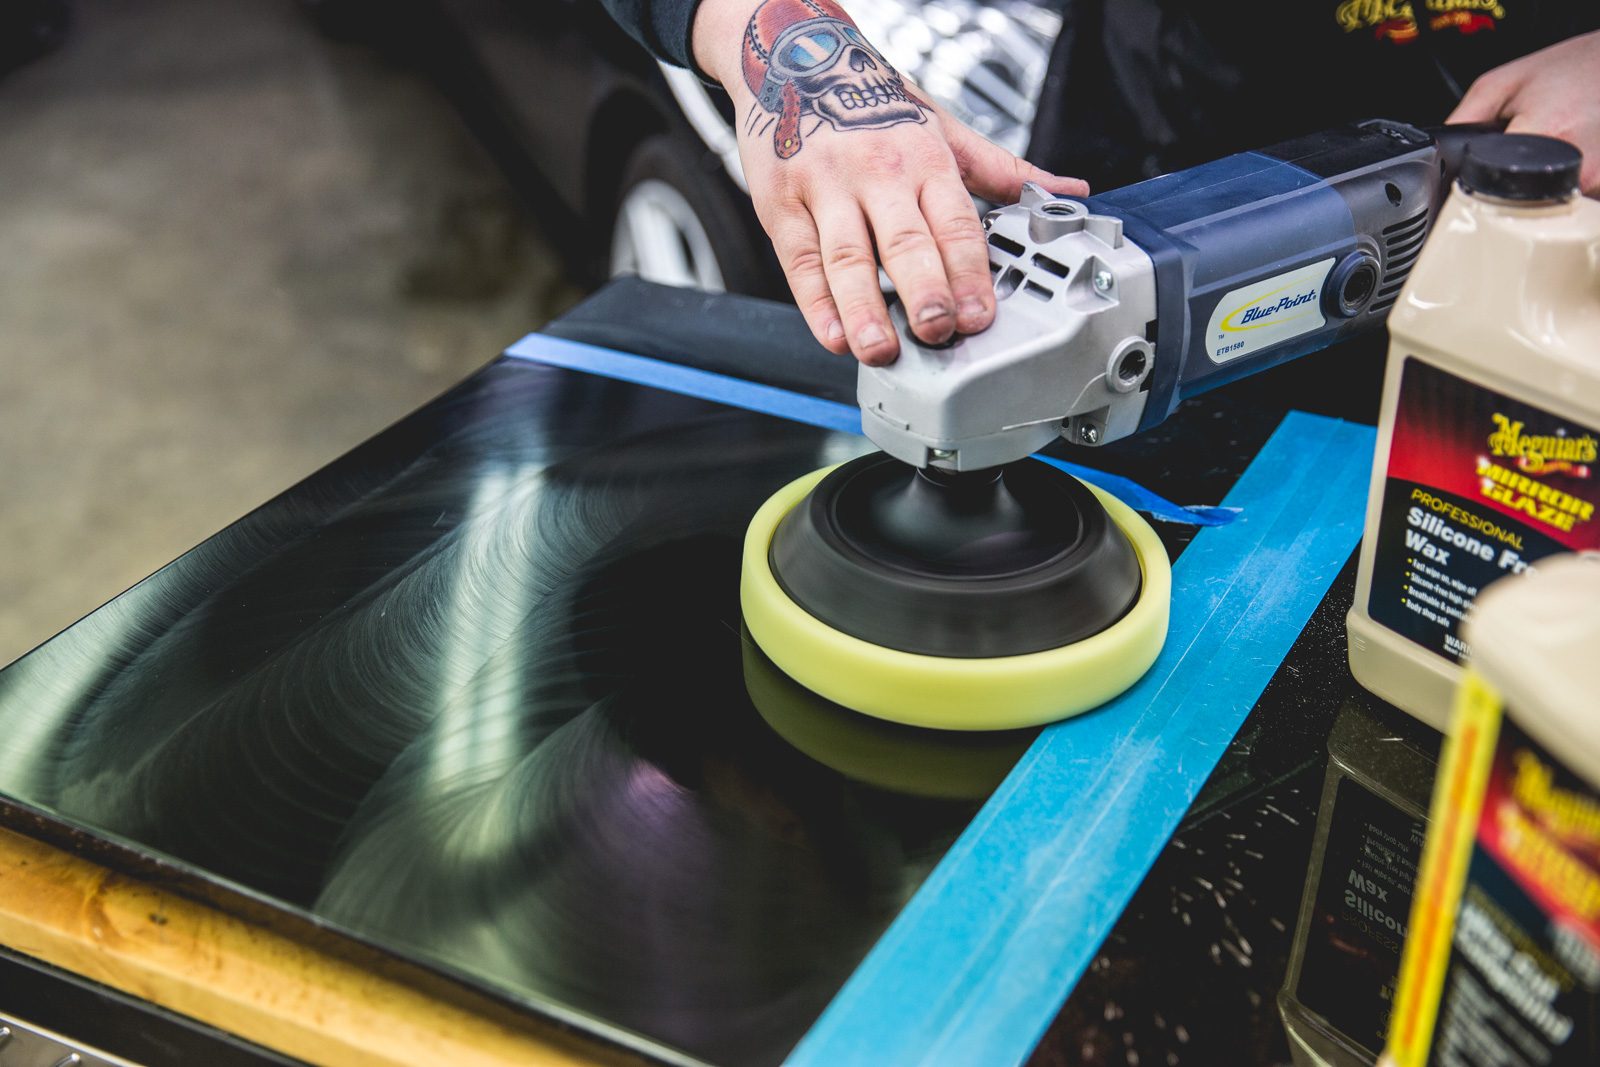
Typically, there are two types, lacquered and not lacquered. Lets look at ‘averages’. Lacquer will normally be between 30~80 microns thick on a typical modern car. Most of the time, a clear coat will look rippled and give an ‘orange peel’ appearance and will be applied over a metallic finish. From a polishing perspective this shows us depth. The rippling of the surface is due to the way solvent based clear coats settle during the curing process. Most manufacturers present their cars with that ‘gun finish’ which basically means the clear coat is applied by a robotic sprayer, cured, lightly polished then sent to the showroom. However some of the more exclusive brands do flat sand the clear coat to level it down to give a more intense shine and clarity in the reflection.
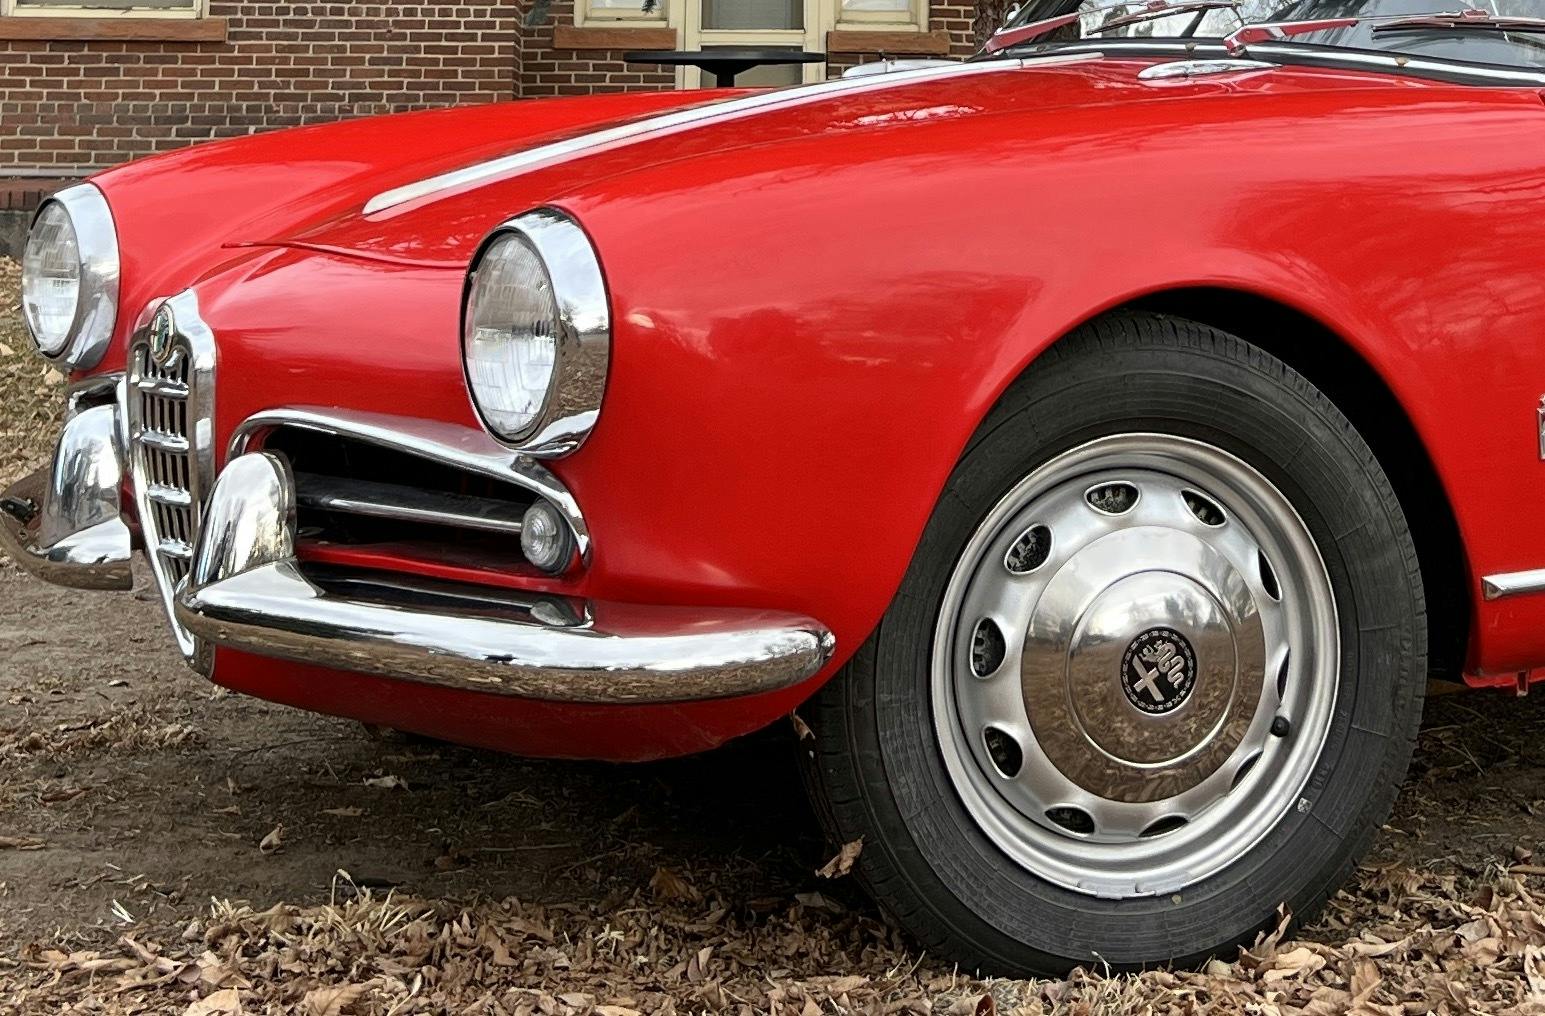
Old cars – the classics so many of us hold dear – were painted without a clear coat and can be quite a challenge as they will be much older, potentially had more repairs and often the paint is thin, which dramatically limits what can be achieved when polishing. So care and respect is called for when using a rotary polisher with classic cars.
For a complete beginner or novice I would recommend a dual action polisher over a rotary machine. A dual action polisher has a head that oscillates. This is considered safer and is less likely to cause machining trails – the friction-induced marks that can be left behind by incorrectly using a rotary machine. A rotary spins at varying speed rates in a uniform direction, so if the operative doesn’t move regularly around the panel, heat transfer into the paint can cause burning, or worse still burn through. Dual action machines by the nature of their namesake create less friction, so can be held in one place for longer without the risk of marring the surface.
Like any tool prices vary. Around £80 buys you a cheap dual action unit but £300-£400 will get you an industry recognised professional machine. A rotary machine is a similar outlay, although some can be nearer to £500 when you dabble with the professional range. They will come with cutting pads, polishing pads and finishing pads, and you use different products with each pad. (Fear not; I’ll be covering these in my next post.)
Corners and edges should be avoided or masked up with tape to avoid wearing through as this will typically be where the paint is at its thinnest. When attempting to remove any unsightly swirl marks in the clear coat, these can be as shallow as a micron or two, so in the grand scheme of things we are talking a miniscule abrasion of the clear coat. Tips, tricks, techniques and methods can take years to perfect so a beginner should only try and tackle minor swirls to begin with.
There’s no shortage of video tutorials online, and attending a workshop with a local detailer can help accelerate your skills, but experience – as with all things – counts, and the more time spent using a dual action polisher, the better you’ll get at reviving paintwork.
Read more
Elbow Grease: Still washing cars with a sponge? You’re doing it all wrong
6 essential hand tools for every DIY toolbox
Reviewed & Rated: Aerosol paint cans for cars

