Jesse Crosse started as a motoring hack in 1982, was launch editor of Performance Car magazine and signed up an unheard writer called Jeremy Clarkson. He now writes about automotive technology, and spends his time restoring a pair of fast Fords, a 1968 GT390 Mustang fastback, and the same Ford Sierra Cosworth long-term test car he ran while editor of Performance Car. Here he shares tech tips for the have-a-go DIY car enthusiast.
If you own a classic made much before 1980, the likelihood is that it’ll have an old-school ignition system rather than an electronic one. Before electronic solid-state ignition systems, there was a much more elegant, if more troublesome mechanical system consisting of a distributor, contact breaker points, rotor arm and condenser. This collection of bits and pieces is often one of the very first ports of call if your classic car’s engine is misbehaving, so a little preventative maintenance will go a long way to keeping your pride and joy running like the well-oiled machine we all hope for.

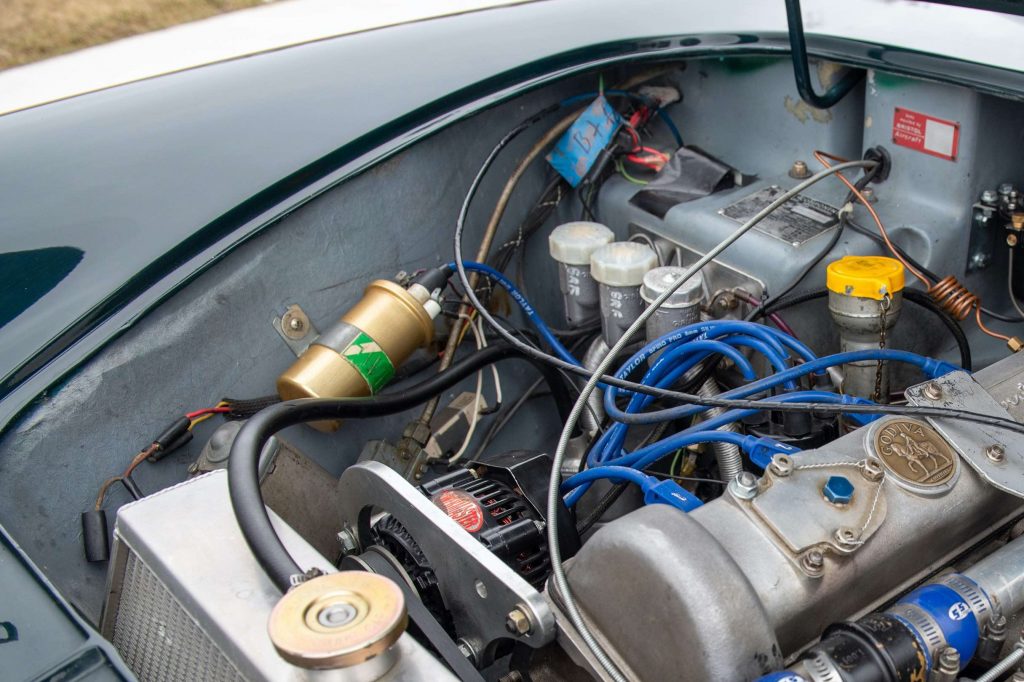
Like modern electronic systems, the older setup was also an ignition coil and high tension (HT) leads carrying high voltage to the spark plugs. The ignition coil is the thing that actually generates the spark at each spark plug by generating a very high voltage current. The distributor literally distributes that high voltage current to each spark plug at precisely the right moment. It doesn’t matter how many cylinders an engine has, in most cars there will be one coil and one distributor serving all the cylinders.
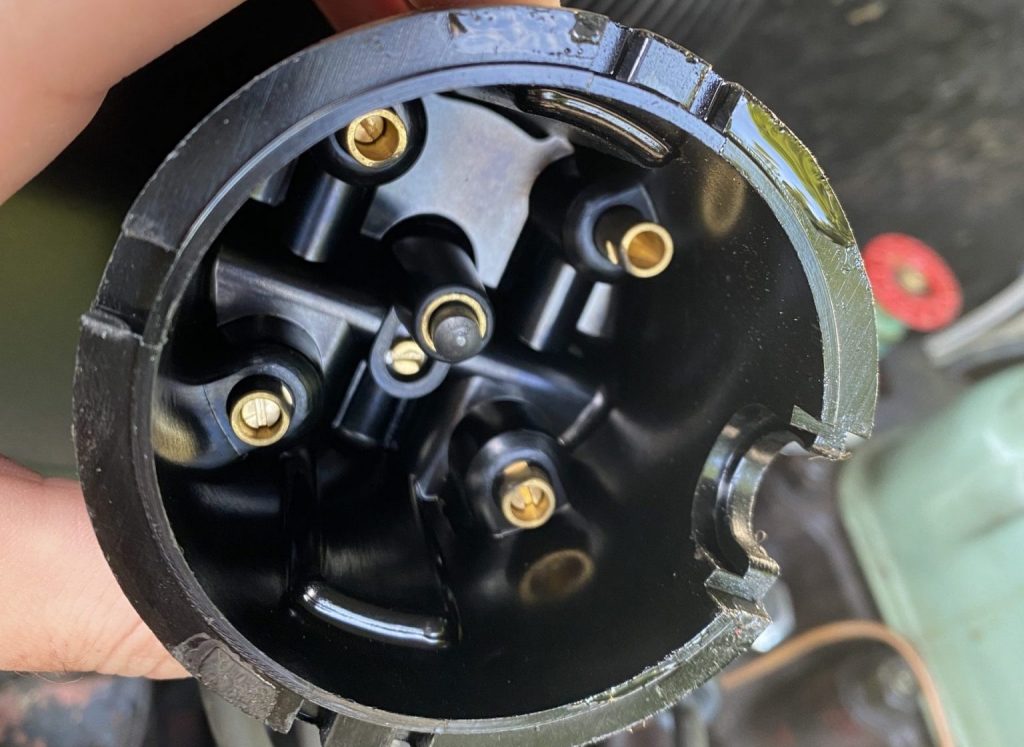
Inside the distributor is a set of contact breaker “points” which is simply a switch to make and break a circuit, a condenser (capacitor), a rotating cam driven by the engine’s camshaft, a rotor arm and on top of the distributor, the distributor cap sprouting a number of HT leads, one for each cylinder. A high tension (high voltage) current from the coil is supplied to the top of the distributor cap with a single HT lead. A sprung contact conducts the current to the centre of the rotor arm.
The coil actually contains two coils, a primary winding and a secondary winding, and works on the principal of electromagnetic induction. When a current is passed through a coil of wire, it creates an electromagnetic field and that’s what happens when the ignition system is switched on and the points are closed. The current flows from the battery, through the primary coil, across the closed points to earth, completing the electrical circuit.

The magic happens when the points are opened. The current to the primary coil is suddenly cut and the electromagnetic field disappears or “collapses”. When a magnetic field collapses, a current will be “induced” in any wire passing through the field. In this case that wire is the secondary winding of the ignition coil.
A very high voltage current of around 20,000 volts is generated in the secondary winding and directed via the rotor arm, through a contact in the distributor cap, into an HT lead and to a spark plug. As the rotor spins, the high voltage current is sent up each HT lead in turn and the leads are connected to each cylinder’s spark plug according to the firing order of the particular engine.
The condenser is there due to a weird law of physics called electromotive force, EMF or “back EMF.” When the points open and the magnetic field collapses, a current is generated in the windings of the primary coil. That current would create a massive spark or arc across the points and send them to an early grave, so the condenser is wired across the points to absorb it.
Now all that’s a lot to digest, but stand in front of your car with the distributor cap off and what’s been explained here will become pretty obvious, so on to the maintenance. First of all, the contact breaker points must open to a specific gap, not too small and not too large. This is vital because the coil and condenser need time to do their stuff. A typical gap for British cars is 15 thou (15 thousandths of an inch) but it varies between cars, engines and even the type of distributor, so check the workshop manual to get the correct value. The gap at the spark plug is also specific to the engine and both are set using feeler gauges – a cheap and simple hand tool that has a set of blades of varying thickness. Bear in mind there are Imperial and metric feeler gauges so make sure to use the right ones.

With the ignition off (and this is easier to get right with the plugs out and no compression) select a gear like second or third and rock the car to and fro until the points reach the maximum gap with the heel exactly on the crest of any one of the cam lobes. The cam rotates slightly against springs and bob weights to advance the ignition timing as the engine speeds up, so when you get close, you can tweak it with your fingers to check the points really are wide open as far as they can go. Once that’s done, crack the clamping screw on the points and adjust the gap if needed. It’s fiddly and they often move when tightened again so take you time and recheck with the gauges. When checking points after a while, they may well have closed up as the heel of the points (fibre or plastic) wears down during use.
One of the key jobs of the condenser is to prevent the points from burning out quickly, but when they fail, the engine may not start at all, misfire, or run badly. It’s worth changing them from time to time but you need to have the right one (with the right electrical value) for the engine. The points will get pitted despite a good condenser, so either renew them, or if the pitting is slight, give them a little tickle with some fine wet and dry between the two surfaces.
And that’s it! On cars of a certain age the ignition system is one of the very first ports of call if your engine is misbehaving and although it’s important to keep an eye on the condition of the ignition system, it’s good fun to do and there’s nothing like seeing your engine running as sweet as a nut after a tune-up.
Also read
How spark plugs work and what they can tell you about your engine | DIY
Things to know when changing your spark plugs | DIY
Everything you need to know about oil for your classic car


A very informative article especially being the owner of an MGB with this type of ignition set up. I have spent many hours tinkering with points and plugs. PS both my classics are insured with Hagerty.
How could the article not mention how to set dwell with a meter? How to adjust timing by rotating the distributor while pointing a timing light at the balancer?
I think this article was written more for the layman’s understanding of ignition basics and principles. And it does a very good job of that. Dwell is important, but not critical; an engine will run very well, generally, even if the owner doesn’t set the dwell. As far as not explaining how to set timing using timing light at the balancer: There are many ways to set timing. Again, the author goal is keeping it simple. And the method he describes is basic, and easy for the average person to understand and perform without special tools. PS Thanks, Hagerty! And I insure both of my classics with you – thanks!