Getting that final finish on surfaces is one of those things that I take for granted in the workshop, but in truth the approach you take may vary enormously depending on the type of finish (bare metal, plating, a coating, or paint). So in that sense, whether it be a quick spruce-up or something more involved, it’s probably fair to say that establishing a final finish is a “thing” in its own right.
What am I on about here? Well to be clear, not the process of a re-finish, like painting or plating, but reviving. Yes, that’s the word, reviving. To bring back the shine in something, but warts and all including imperfections and the perhaps lack of gloss that a new finish has.
That also encompasses the word “patina.” Patina is a word I think has become misused when it comes to cars. To my eyes, what it isn’t is that left-as-it-is rusted paintwork (which has its place), but the mellowed softened look of old-but-cared-for cellulose paintwork, old chrome or zinc plating.
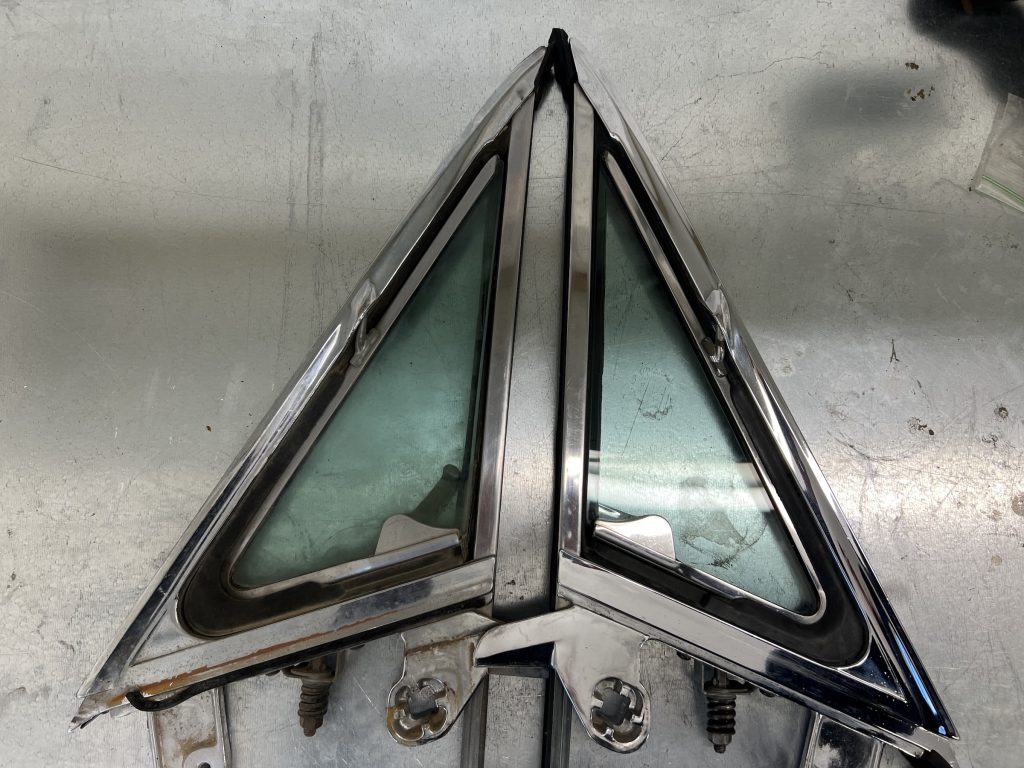
In particular, I’m thinking about what to do with older metal finishes rather than paintwork which is a discipline in its own right. It’s something I’ve had in the back of my mind for a while now since my ’68 Mustang GT restoration moved to rebuilding the doors. That job entails fitting locks and wind-up windows and a veritable web of linkages.
The visible “A” finishes like the window frames are chromed but other hidden bits and pieces like pushrods for locks and window runners, are zinc plated steel. So how far do I go with that lot? Ignore the hidden bits because no-one will see them? That’s not my style and I always have in mind what it looked like when it was installed at the factory. At the same time, since they’re in good condition having been hidden away in the rust-free doors of a body shell that spent its former life in Arizona, a good clean to get the dust and dirt off and a light polish with Solvol Autosol is perfect.
The chrome finish on the frames? It, too, was dusty, dirty and still carried the grubbiness of grubbier hands, especially on the quarter lights, but once stripped down, cleaned with soap and water and hand polished before replacing the old rubbers and window channels with new, they look really gorgeous. There are just a few blown spots here and there to remind of its age and originality, but not so many as to look unsightly and warrant a re-chrome. In this instance, reviving rather than restoring was definitely the way to go.
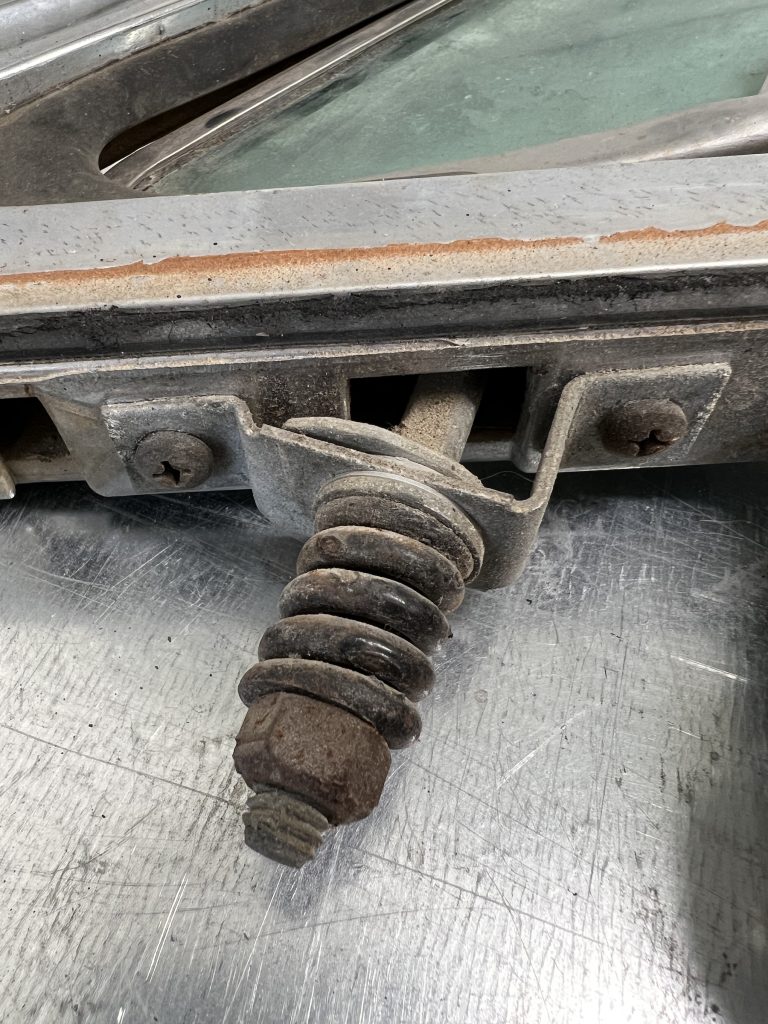
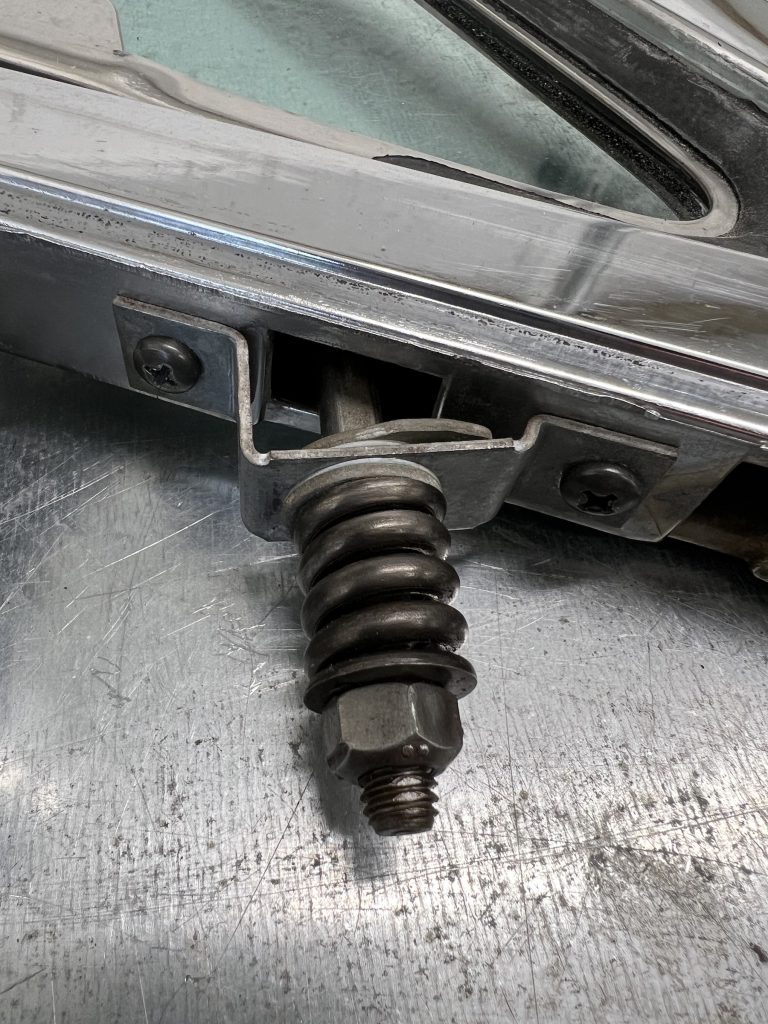
When doing jobs like this one, parts often link to others elsewhere on the car and in this case, that meant the locks which had to be replaced with a new matching set. In unpacking all the related bits and bobs from the boxes in which they’ve resided since The Big Strip Down, the boot (trunk) lid latch striker re-surfaced. It’s a simple, zinc-plated, pressed steel piece which bolts to the closing panel and its original lustre has long departed.
That said, it’s not corroded, the plating is still intact and my initial reaction, to re-plate, has been replaced with a preference for that word again, reviving. I’ll give it a shot anyway. The first step will be the trusty tube of premium metal polish again. If that doesn’t do the trick I’ll take a more aggressive approach of the buffing wheel followed by hand polishing and if it doesn’t pass muster, then I’ll call “fair play” and dunk it in electrolyte for a fresh layer of zinc.
In the meantime, the intriguing question of how it’ll work out will keep circulating in the back of my mind until the job’s done, and that’s half the fun.
Read more
Helicoil to the rescue! Fixing my Sierra Cosworth’s anti-roll bar mount
DVLA’s Dos and Dont’s: The risks of modifying your classic car
The 6 most complicated restoration steps

