At the wheel: Jesse Crosse
Owned since: July 2017
Current condition: Returned to original
Hands-on or hands-off? Hands on
Jesse Crosse started as a motoring hack in 1982, was launch editor of Performance Car magazine and signed up an unheard writer called Jeremy Clarkson. He now writes about automotive technology, and spends his time restoring a pair of fast Fords, a 1968 GT390 Mustang fastback, and the same Ford Sierra RS Cosworth long-term test car he ran while editor of Performance Car, reported on here.
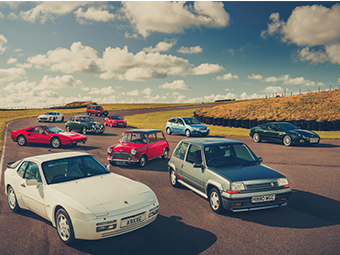
Being reunited with a car having parted with it 30 years earlier takes a bit of getting used to, especially when I’d become convinced that it had long since gone to that Cossie graveyard in the sky. But there we were, me and my Cossie, just like old times and good to go. Well almost.
Like most Sierra RS Cosworths that have led a full life (not the kind that have been squirrelled away to deteriorate in the name of future profits) mine had been tinkered with. That’s no surprise and like other true homologation specials built in limited numbers, the Sierra RS Cosworth was designed to be uprated.
Mine has very clean bodywork and you could eat your dinner off the underside. It’s been repainted, a front wing has been replaced, the colour is spot on, it looks great, and there is no sign of rust anywhere. Wheels are original and the interior appears to be the same one I sat in when it was new all those years ago. I collected the car on a trailer as the MOT had expired and began compiling a list of things in my head that needed doing sooner rather than later.
The front fog lights had been switched for RS500 grilles, a pity because those are unique to the 3-door Cosworth and rare. The plastic cam belt cover had been changed for an item of nasty chromed bling and the plastic radiator header tank had been changed for an aluminium one. The plastic air filter box (like the cam belt cover and fogs unique to the 3-door Cosworth) had also been replaced with a cone-type aftermarket filter.
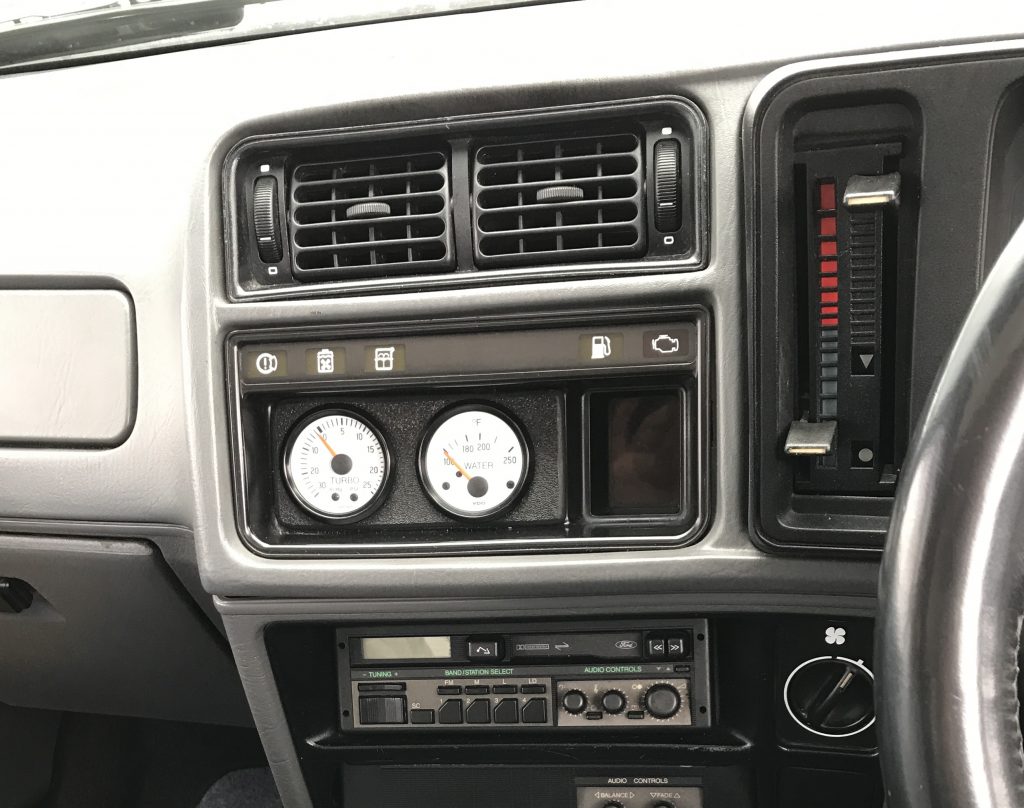
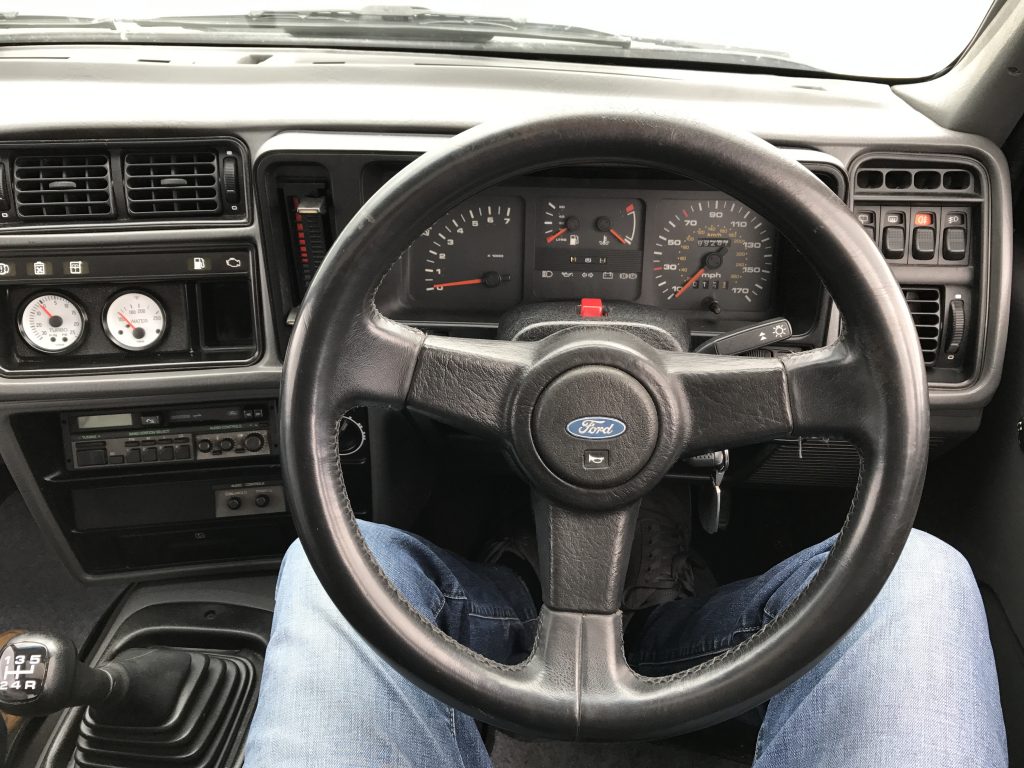
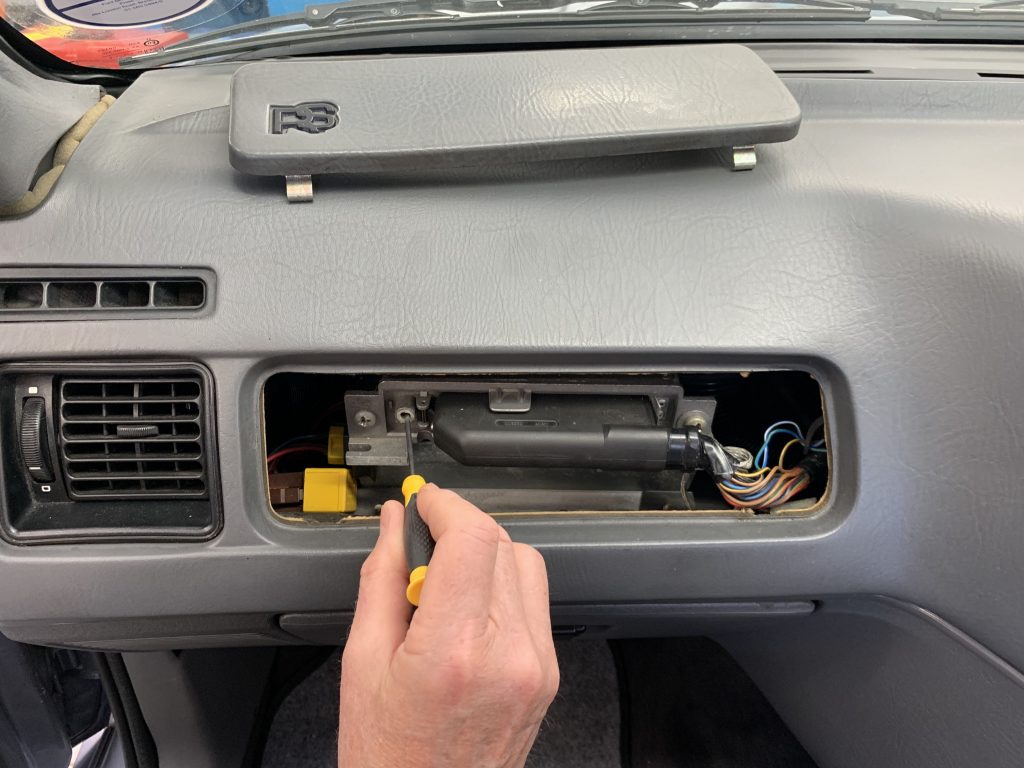
The clutch clearly needed replacing as it was biting with the pedal close to the floor. The engine bay also had various other details that needed returning to standard too. The suspension had been lowered with stiffer coil springs and lowered MacPherson Struts, and there were a couple of aftermarket dials in the instrument panel where the digital clock and graphic display module normally sit.
Once all that had been sorted and the Cossie returned back to standard trim, I planned to tackle the engine which had been given a bigger turbo, ported head, remapped ECU and larger capacity green injectors in place of the original standard yellow injectors. There was also the noisy matter of a large bore stainless steel exhaust which needed replacing with a standard one.
I was in the middle of a major restoration when the Cossie turned up, so I decided to get the initial bits and pieces sorted by a mate of mine, Richard Upton at ITG Motorsport. Richard had grown up rallying these things and knows them inside out, and once he’d done the basics and got the MOT renewed, I’d drive it around a bit and tackle the major jobs when I had more time. At least, that was the plan.
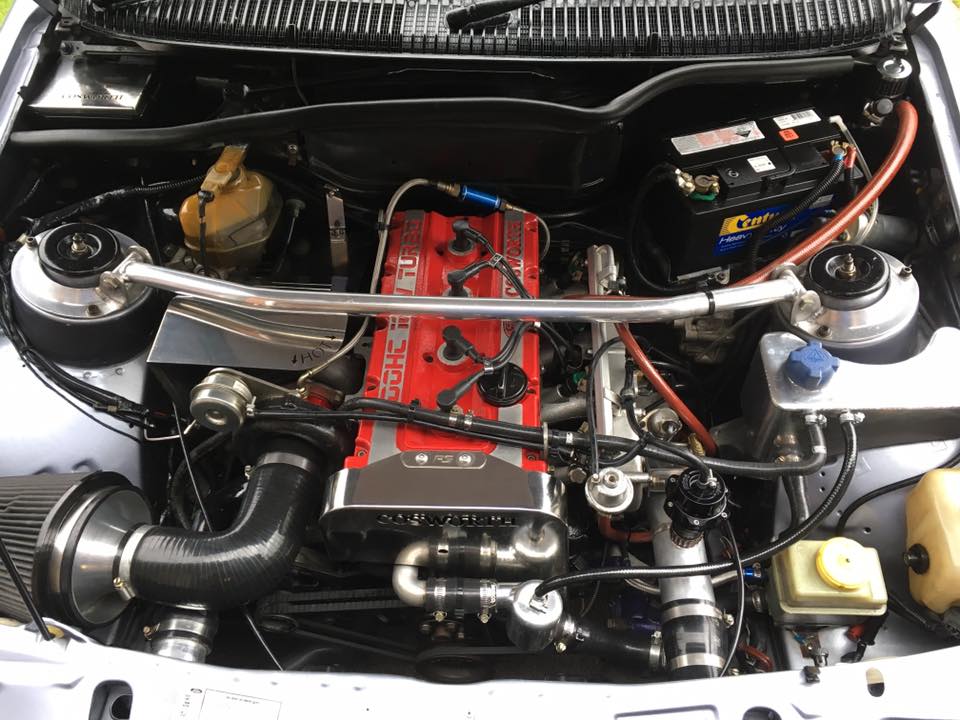
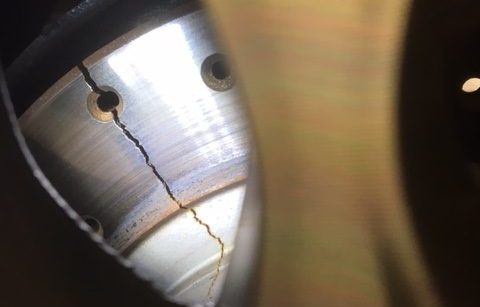
So off we went. I set about sourcing the extremely rare air box and luckily Richard had a pair of fog lights and an original cam belt cover in his spares stock. I was able to get a new Helix clutch without any bother and we fitted a fresh pair of rear discs (they were the non-standard drilled-type, and one was cracked) plus new pads all round. The gear lever had been shortened for some bizarre reason and the gear knob, though standard, would twist annoyingly. Again, Richard had an original in stock so that was an easy fix.
While the clutch was being replaced, the gearbox was opened up and given a thorough check over. Finally, a new set of plugs went in and I’d already tracked a misfire under load down to a dirty harness connection in the engine bay. That was easily fixed by cleaning the contacts and administering a dose of electrical contact spray. With all those jobs done and the aftermarket dials replaced with an original clock and graphic display unit, the Cossie was already looking more like the car I knew and loved. Now all I had to do was drive it around for a bit and see how things shaped up, but as it turned out, I was in for a surprise…
13 December, 2021: The sound of an engine rebuild
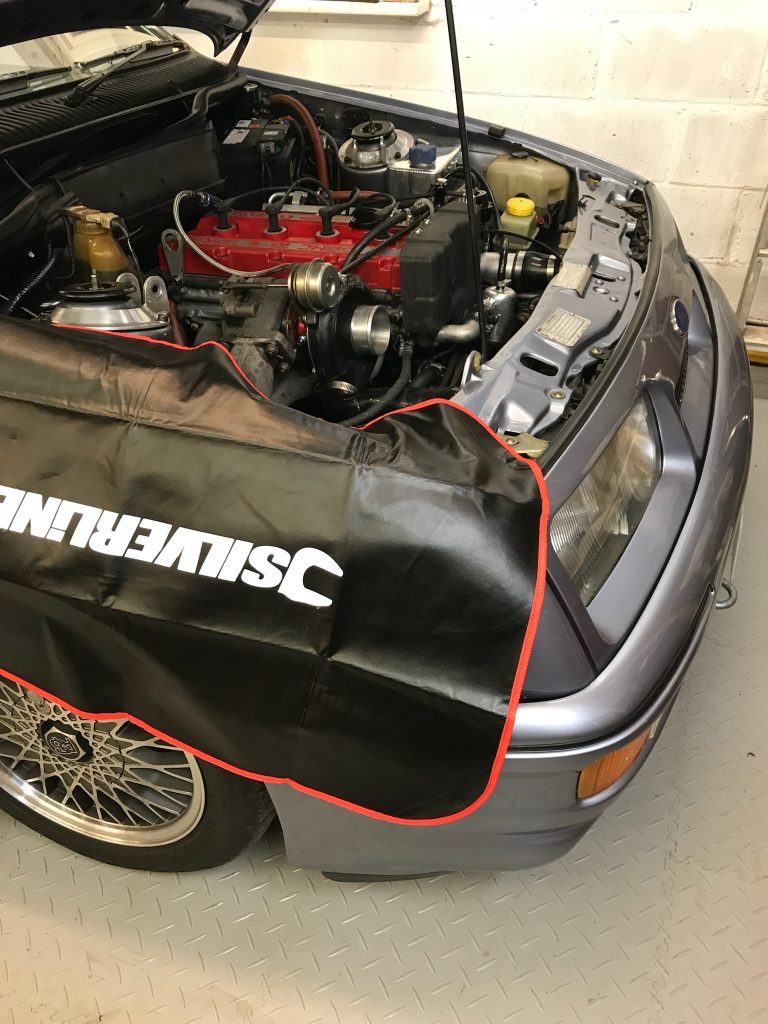
So far I’d already replaced a lot of the obviously non-standard parts on the Cossie so at least it was a lot more correct on the surface, but there was still a way to go to get everything just right. Like the huge majority of 3-door Sierra Cosworths the suspension had been lowered and stiffened and it had adjustable aftermarket shocks and struts. Although it looked cool it wasn’t how it should be and after a bit of research I found that all the replacement springs on sale for these cars are uprated and usually lowered too. The same goes for struts and rear dampers, so some research would be needed to find an original solution.
I also had to do something about the big bore stainless exhaust and I discovered once I’d got the car on the ramp that the rear anti-roll bar had been removed in order to use one of the mounting points to hang the exhaust at the rear. That was a daft idea because in standard form, the Sierra Cosworth inherently wants to understeer in slower corners and I could feel it seemed less willing to turn in than I remembered. The rear anti-roll bars may not be the beefiest but they do have an effect.
I had noticed that the engine sounded a bit tappety too, but on the Ford Cosworth YB engine that isn’t unusual. Cures can be as simple as replacing the hydraulic lifters and even changing the oil (and making sure it’s the right grade), but I’d already done that. Eventually I decided to remove the cam cover and have a look as the noise was irritating me. There was nothing obviously wrong but I thought I’d check the overhead cam bearing cap nuts were torqued down properly and when I did, one stud pulled straight out. That would explain a lot! In fact there were two stripped threads so that was that, I’d have to whip the head off and get it sorted.
While I was at it I pulled the plugs to check the compression and found one cylinder was a bit low. With a bore scope I could see the cylinder wall looked curiously pitted which was odd and something I’d never come across before. When the head came off I was able to see that the pitting was due to water damage from an earlier cracked cylinder head and it was clear that what had started as a brief investigation had now turned into a full rebuild. Luckily I’d already invested in an original Ford workshop manual (found on Ebay for £60) and had all the info I needed to make a start right away.
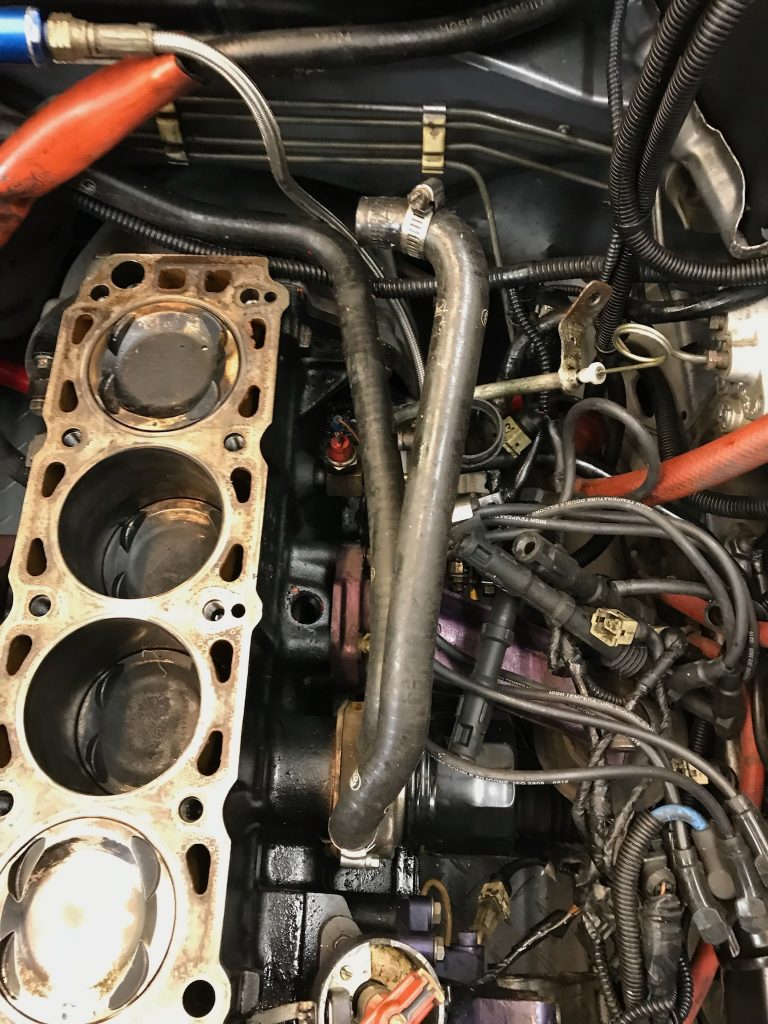
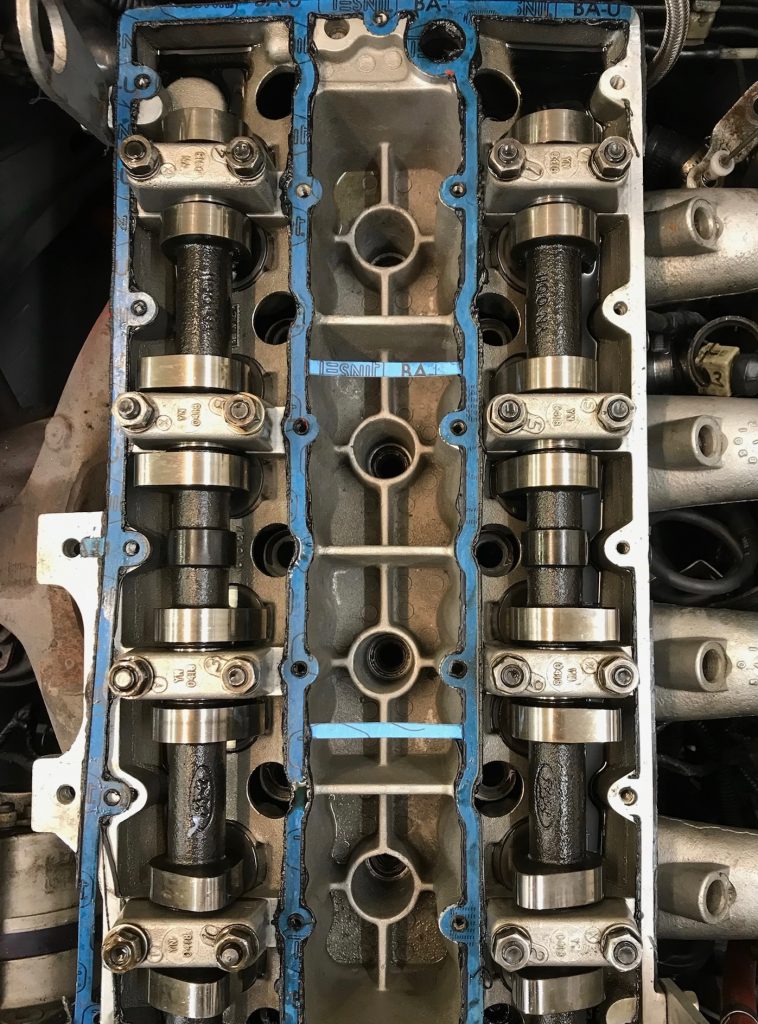
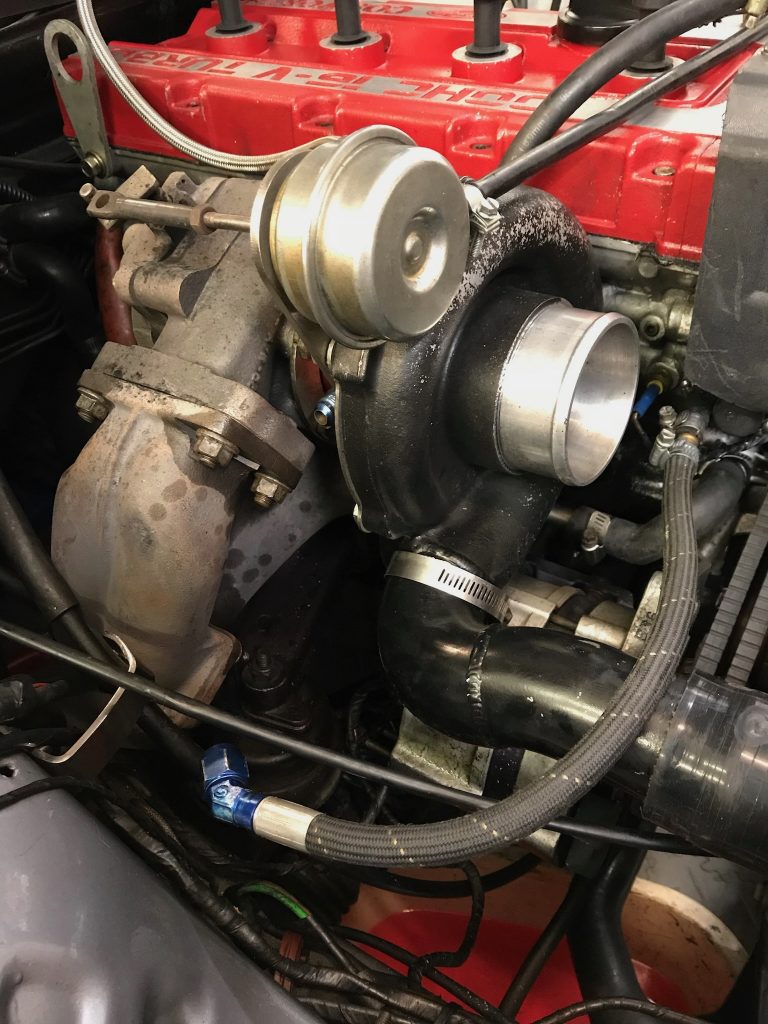
The engine came out easily even though the engine bay is less spacious than some older Fords because of the turbo and weirdly shaped exhaust manifold. After I had carefully stripped it down, I headed off to Steve Curzon of Vulcan Engineering based at Brands Hatch. Steve is an exceptional engineer who started in the engine building business as a lad, and his skill and knowledge of Ford engines in particular is second to none. The head would need the usual stuff, a very light skim to avoid head gasket leakage once back together, inserts for the two stripped threads and some work to ensure the compression ratio would be set to the correct 8.0:1.
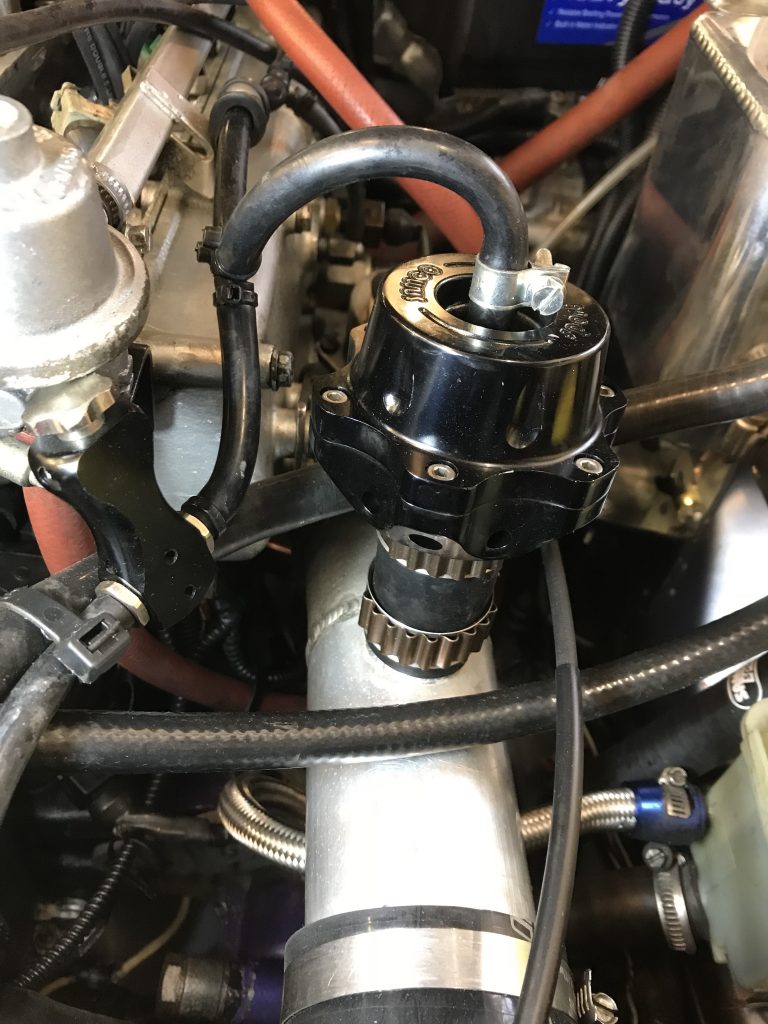
The Garrett T3 turbo had been replaced with a bigger one to provide higher boost and would need replacing with an original Garrett T3 along with all the gubbins associated with that. The standard Mahle pistons had been replaced with Wiseco motorsport pistons and peripheral things like the larger intercooler, external venting dump valve, pipework, boost hoses and wastegate actuator would all need replacing with originals too. While the engine was at Vulcan having the machining work done, I set about tracking down a standard intercooler and the rare ‘Amal’ solenoid valve which both controls the wastegate actuator and acts as a dump valve to release inlet boost pressure when the driver lifts off the throttle. The next few weeks would be fun but the reassembly and setting up was going to require plenty of care and attention to detail to get everything spot on.
18 January, 2022: Cosworth specialists to the rescue
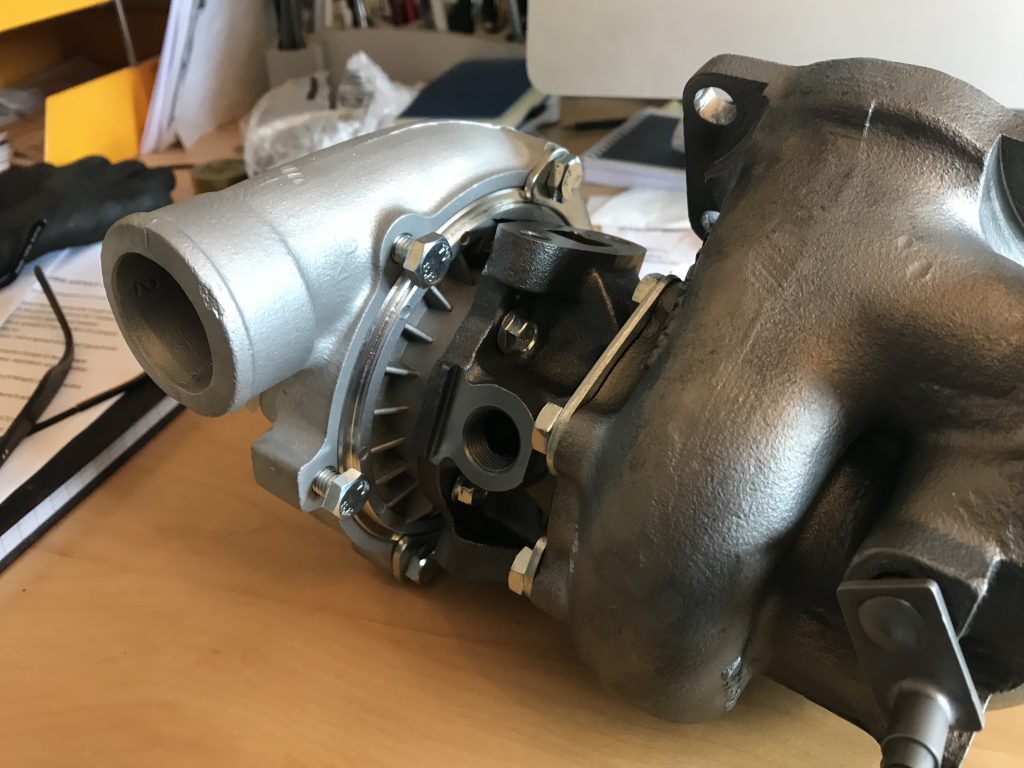
Although the Sierra Cosworth YB engine has its roots in Ford four-cylinder engines that had been around for a long time, the parts that make it what it is are pretty special. In standard form it’s a fairly unstressed engine at 201bhp (204PS), designed as it was to handle much more than that in motorsport trim. The important thing, as always in engine building, is to pay scrupulous attention to detail. In this case the ‘works’ workshop manual is very specific about detail, from the three different types of Loctite thread locker and gasket sealant that should be used, to the usual stuff like the correct tightening sequences, torques, assembly sequence, cam timing and more advanced things like the four Inconel bolts which attach the turbo to the exhaust manifold.
Inconel is a nickel-chromium-based “super alloy” designed for use in extreme temperatures such as jet engine turbines. It retains its tensile strength (resistance to stretching) even at extreme temperatures and must be replaced during a YB rebuild. It would be an easy thing to skimp on because of the high cost which comes in at over £27 each (compared to a few pence for a conventional high tensile bolt), but taking short cuts in engine building usually ends in tears.
I was able to track down an original 3-door Cossie intercooler in good condition. Similarly the Amal valve which controls boost, but some other things were a little more tricky and expensive to source. I found a firm that manufacture original spec boost hoses (two black, one terracotta-coloured) and they cost more than £175 for the three. A complete hose kit for the 3-door Cosworth would later cost a further £317, but the good news is, they were all factory correct. The original type hose clips are also available and all the old jubilee clips that had found their way on to the car over the years would be replaced with the variety of the proper jobs when the engine went back in to the car.
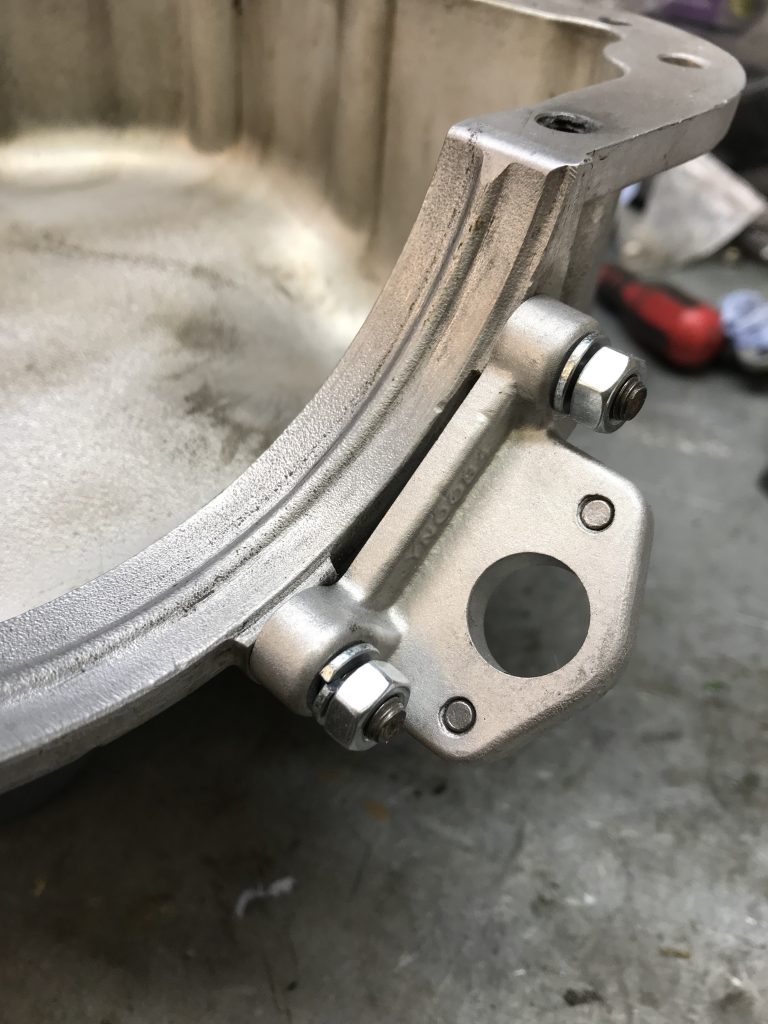
I was expecting that finding a Garrett T3 turbocharger would be tricky since they’re no longer made and secondhand turbos are bad news. If a compressor fails and the engine ingests bits then the result is catastrophic. Then I discovered Bernie’s Blowers in Essex. Bernie said he would build me a one from parts and he was as good as his word. Receiving it in the post a couple of weeks later was a highlight of the build so far; it looked as though it had come straight from the factory. Turbo-building requires great skill because they spin at a long way north of 100,000rpm, so the compressor and turbine assembly must be properly balanced.
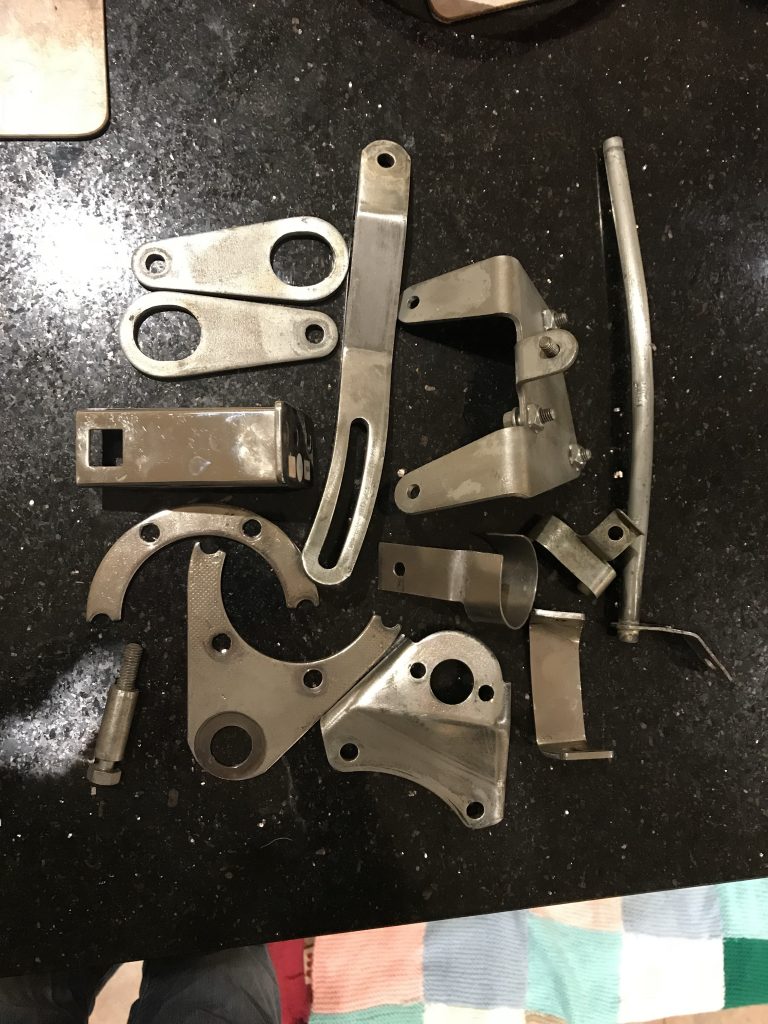
I collected other bits, like the turbocharger bracket which was secondhand, but the fiddly turbo damper I was able to get new from Ford specialist Burton Power. The standard, yellow injectors were less difficult to find and I picked up a set tested and ready to go for a reasonable sum. The final, crucial element was to find an original Ford map for the ECU and the trail led me to Harvey Gibbs at Supreme Motorsport, in Peterborough. Harvey has been working on Sierra Cosworth mapping for decades and supplied a chip programmed with the original Ford code. By now, I had done loads of research and amassed all the bits and pieces needed for the engine rebuild. The next step was to nip down to Brands Hatch and fetch the engine parts from Vulcan Engineering which were ready for collection. More on that next time.
10 May, 2022: Returning the suspension to standard
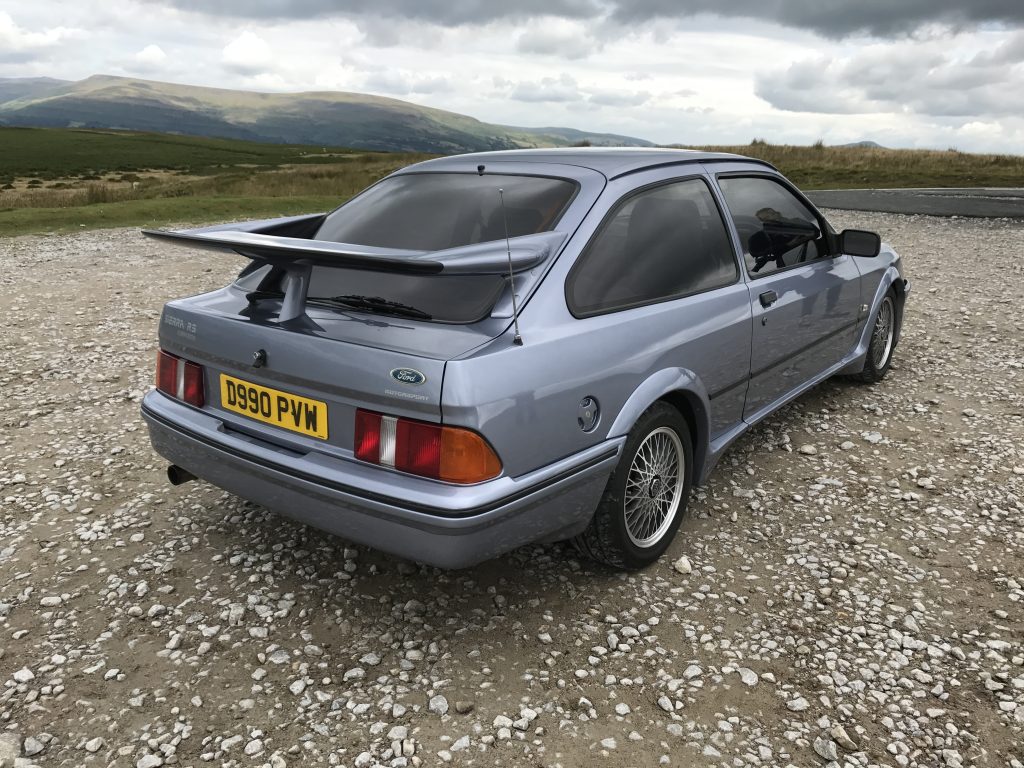
One important aspect of the Cossie’s return to original splendour which I haven’t mentioned yet was replacing the stiffer and lower suspension with a factory setup. Although there’s more interest in standard three-door Sierra RS Cosworths today, for many years the most popular route to take was one of (often extreme) modification.
After all, that’s what the bewinged beast had been designed for and most buyers of used examples were keen to get at least a taste of what a Group A Cosworth was capable of. In truth, most road-going modifications would fall way short of the race car mark and my car was a prime example of that. But nevertheless, the market for go-faster bits blossomed and owners were keen to take advantage of it.
In fairness, D990 looked good on its modified chassis set up which as well as the stiffer and lower springs included Koni adjustable struts and rear shocks. Unfortunately, it felt nothing like I remember to drive and what was a reasonably civilised ride had been replaced by bone-jarring harshness.
Uprating and lowering the suspension on a Cossie is a relatively simple off-the-shelf task but going the other way is difficult because most standard springs ended up in the skip or forgotten and gathering dust in the depths of people’s sheds.
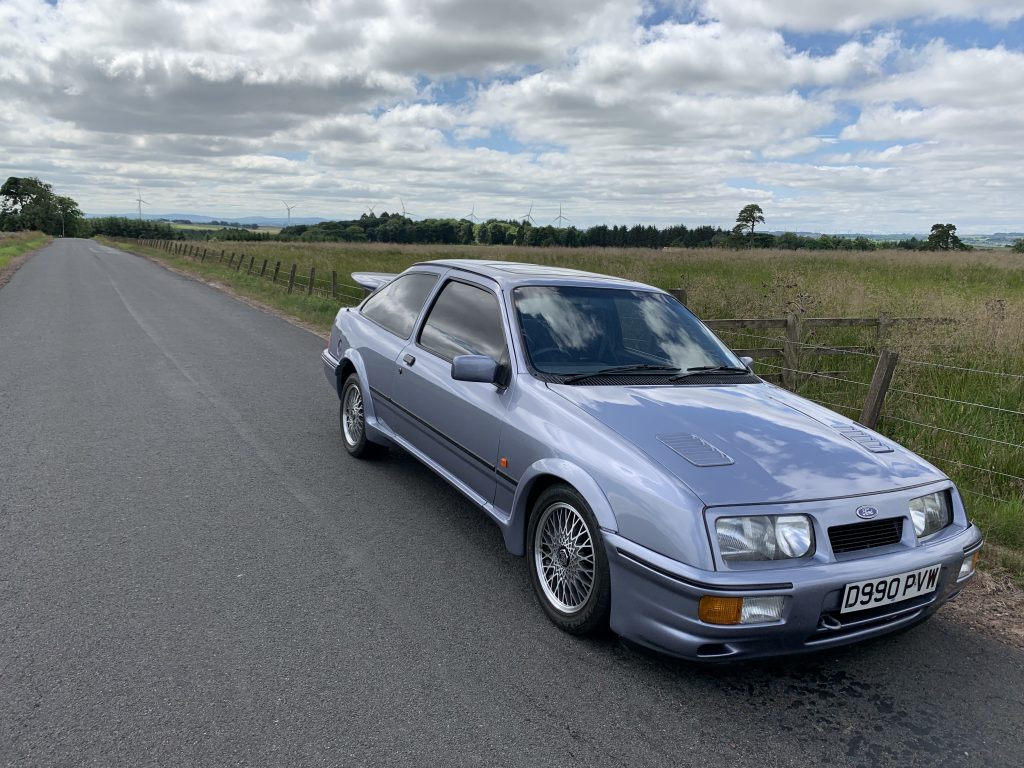
The other problem with buying used springs, even if I could find any (and I couldn’t) is knowing they are correct. Much higher numbers of the later Sapphire Cosworths were produced and there are loads of “Saph” spares out there, including springs. Original, verifiable, three-door items are like the proverbial hens teeth.
Suppliers of remanufactured Cosworth parts, Graham Goode Racing, stock new standard ride height springs but the rates are 20 percent stiffer and that’s not what I was after. The next step was to look for some well established coil spring manufacturers in the hope they may have some knowledge of the originals back in the day. A trawl around on Google soon produced a number of likely suspects, most in the north of England, so I got on the phone. The first call drew a blank but to my amazement, the second hit the bullseye.
The then proprietor of Alpha Springs in Sheffield had been in the business for decades and manufactured motorsport springs for various racing cars back in the day, including the Sierra Cosworth. What’s more, he took measurements of the original standard production springs before making the uprated replacements and still had them on file. I’d been able to source the original Ford details of the front springs (length and rate) and the details matched so I went ahead and ordered a full set for the very reasonable price of £220 plus VAT.
When they arrived and we got them fitted, still using the Koni front struts and rear shocks, the result looked disastrous, with the nose low to the ground and the tail way up in the air. Tracking down some new standard struts and rear shocks sorted the problem and after racking up some miles, the new kit has settled down nicely.
22 November 2022: Steering rack comes under scrutiny
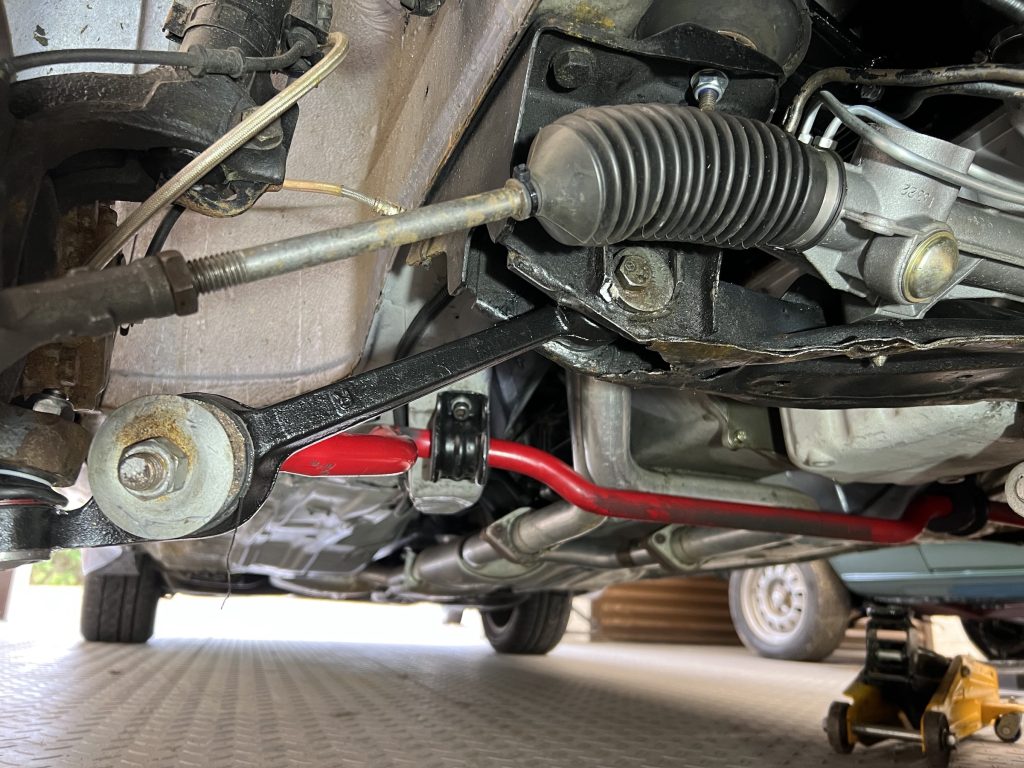
Once a classic has been re-commissioned, rather than fully restored, it doesn’t stop there and as miles start to mount up, bits and pieces needing attention begin to emerge. For the Sierra, it was some wear in the steering rack which an MOT tester, a year after the Cossie first went back on the road, mistook for wear in a track rod end.
There are two track rods, one on each end of the steering rack and they are attached to the rack internally by a large, hidden ball-joint. On the outboard ends are smaller ball joints (track rod ends) which screw on to the track rods and attach to the steering arms which in turn are bolted to the steering hub. When the driver turns the steering wheel the rack moves from side to side and the wheels turn. At the same time, the inner ball joints allow the track rods to move up and down with suspension movement.
The aim with the Cosworth was to bring it back to top condition over time and at the outset of the project, the track-rod end ball joints had passed muster at first. On closer inspection, though, I found the wear was in the rack bushes inside the rack. Grasping the road wheel with the car on a jack, I could feel movement but rather than being a track rod end ball joint as usual, I discovered the inner part of the rack was moving up and down slightly producing the same effect.
A steering rack consists of a tubular casing with a toothed rack running through it, sliding through two bronze bushes pressed into the casing. It was the offside bush that had worn out causing the problem. Finding replacement rack bushes is normally simple but in fact, none of the usual sources stocked them for the Cossie. Eventually, after much image searching online, I found them listed by motorsport specialist Julian Godfrey Engineering.
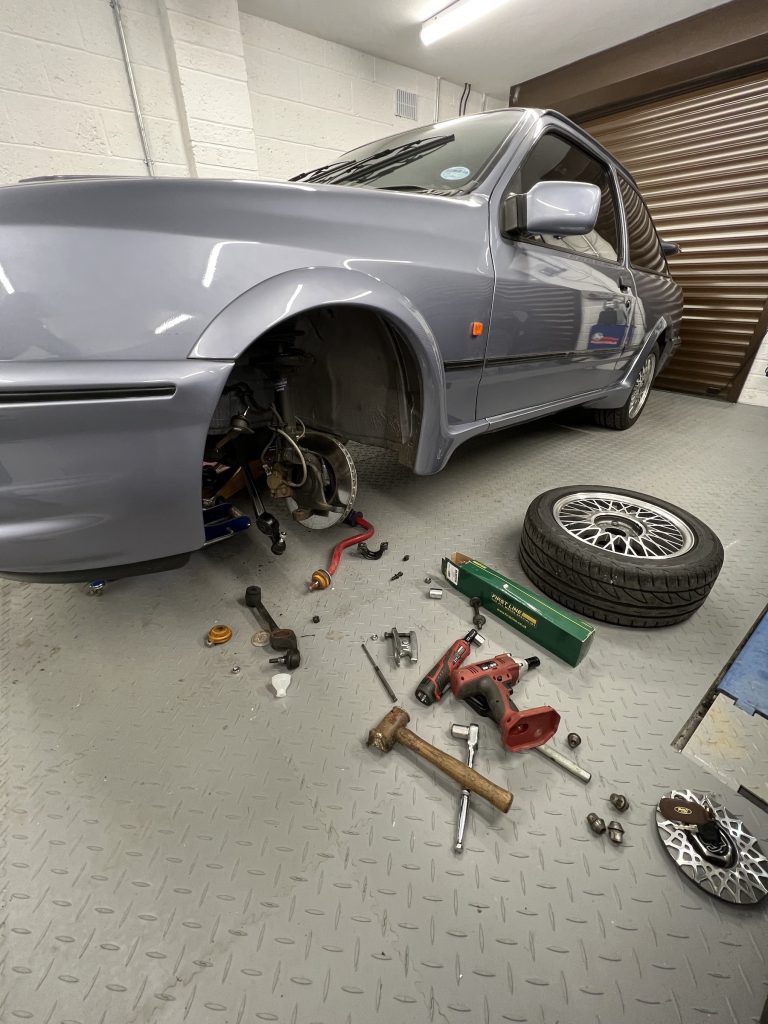
After a quick chat with Godrey’s it transpired that a straightforward rebuild with the bushes (unique to the RS Cosworth rack) would only cost £100 + VAT so off it went in the post. As it turned out (inevitably I suppose), the rack need pinion bushes too and the damage came to £238 including shipping and VAT. Still, it was a superb job that would last for another 35 years, so good value I thought.
Refitting is fairly straightforward, the main problem with a Cossie being that even getting a trolley jack under it is tricky because the front apron is so low. However, once up in the air the clamps all went back on without too much grovelling, I fitted new track rod end ball joints from Burton Power onto the rack and connected the hydraulic power steering pipes. It’s very important that the hydraulic feed and return pipes are connected the right way round otherwise a rack can become quite agitated when the engine is started. In the Sierra’s case, it’s easy enough to get right because of the shape of the pipes.
After that, I needed to reset the tracking using my Dunlop wheel alignment gauges which I still find are the best way short of laser kit to track the steering accurately. While doing that I took the opportunity to get the steering wheel exactly at the straight ahead when driving in a straight line, something which drives me nuts when it’s slightly off!
Tweet to @jessecrosse Follow @jessecrosseSierra Cosworth fan? Bookmark this page as Jesse will regularly report on his Cossie.




Hi I have an original 1987 Cosworth, I’m the second owner since 1988. Stored for past 20 years. Any advise would assist as unsure what to do with it.
A very interesting article – I had an early 3-door Cossie in black, then a Magenta 2wd Cossie Sapphire, and then a Moonstone blue 4wd Cossie Sapphire. All great cars, but I loved the 2wd Sapphire the best.
Just one observation – although the front foglights are indeed rare, you’ll find that they were not actually unique to the 3 door Cossie, as they were previously used on the XR4i, the XR4x4 and also the Sierra 2.0 Ghia.
I look forward to hearing more about life with this great classic – thanks!
Great read thanks. Can you tell me the standard for spring rate and lengths? Front and rear if you know them, im about to restore a sierra and i cant find those details anywhere and like you i dont want uprated suspension.