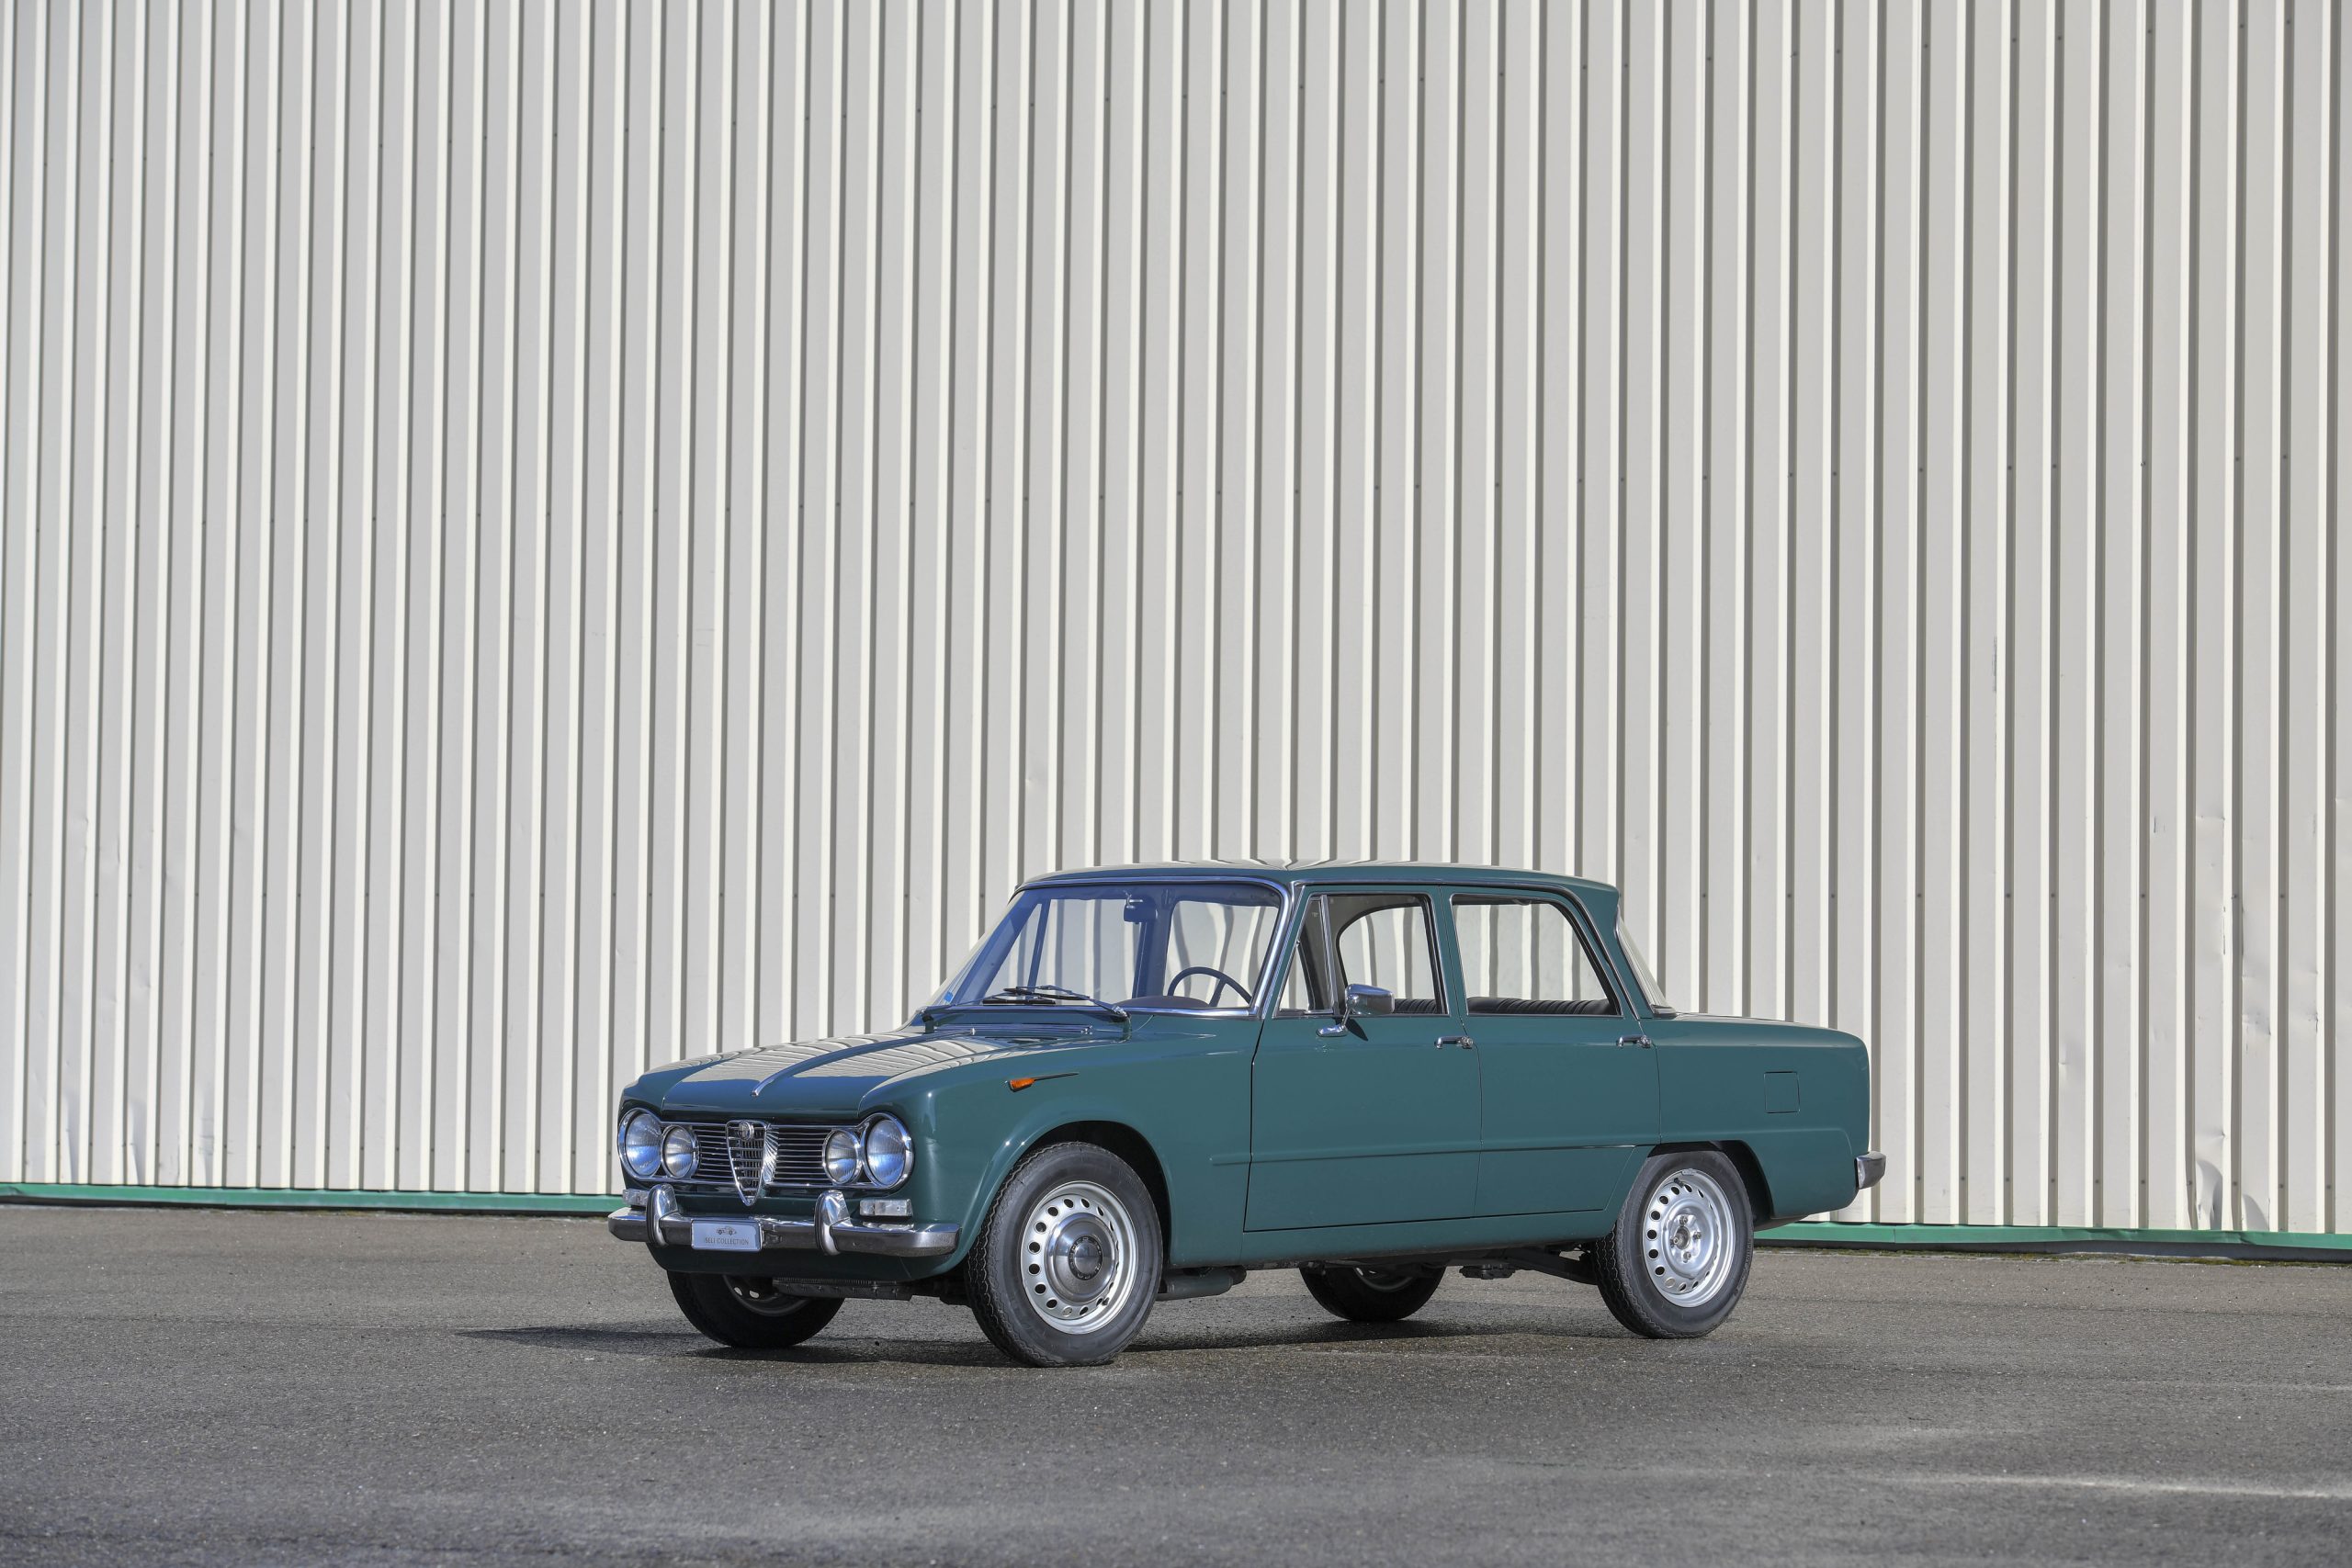
Using rattle cans for paint jobs around your classic may sound like an amateurish thing to do but that’s not necessarily true.
The quality and variety of aerosol paints on the high street as well as various primers including white as well as grey, high-build and most important, etch primer means they can be useful in plenty of areas during a full rebuild, repair, or refresh of components. We published a review of some favourite brands in 2021, but here’s a little more detail on how they can be used for restoring or keeping a classic looking great.
As well as panel repairs, brackets, axle casings, engine blocks, and any manner of other components can be refinished properly with aerosol cans. There are also speciality paints available in the high street for extreme high temperature areas like exhaust manifolds which are extremely effective. What you can’t expect is to get a professional finish on large areas or a whole car.
Before getting started on the nitty gritty, I’m assuming that anyone using these materials is mindful of the safety aspects. “1k” materials sold on the high street are not as dangerous as two-pack isocyanates but they really must end up on the job and not in the painter’s airways. A mask and ventilation is important as it says on the tin, as is the temperature of the paint and ambient air to get a good result.
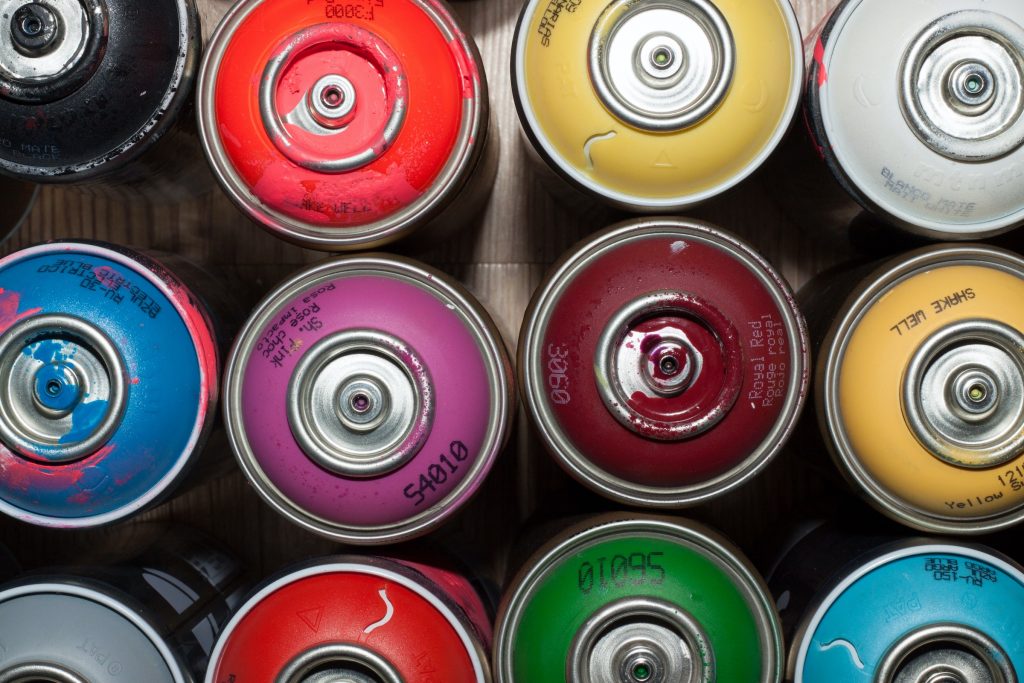
First off, the familiar “cellulose” automotive spray paint found in any car parts store. It’s easy to use because it “flashes off” fairly quickly and doesn’t take hours to dry. As always in painting from scratch, the secret of a good result lies in surface preparation and that means being scrupulously clean and degreased, free of old paint and any cleaning agents you may have used. If possible, a good start on things like brackets, brake drums or suspension parts is to blast-clean them, either with more aggressive carborundum grit or glass beads.
If you have your own blast cabinet, glass beads are a good default because they are least abrasive, leave a smoother surface and are benign enough to clean cast aluminium components leaving a beautiful finish. Otherwise (or if it’s too big for a cabinet) use wire brushes on a drill (wearing safety goggles) and anything else, including paint stripper, to get down to the metal.
If it’s an oily part, degrease it first with a non-flammable degreaser like Gunk or Jizer, then plain detergent and water, rinsing thoroughly. A final wipe over with cellulose thinners from a high street shop is always a good thing too. By that time, the component ought to be as clean as a whistle.
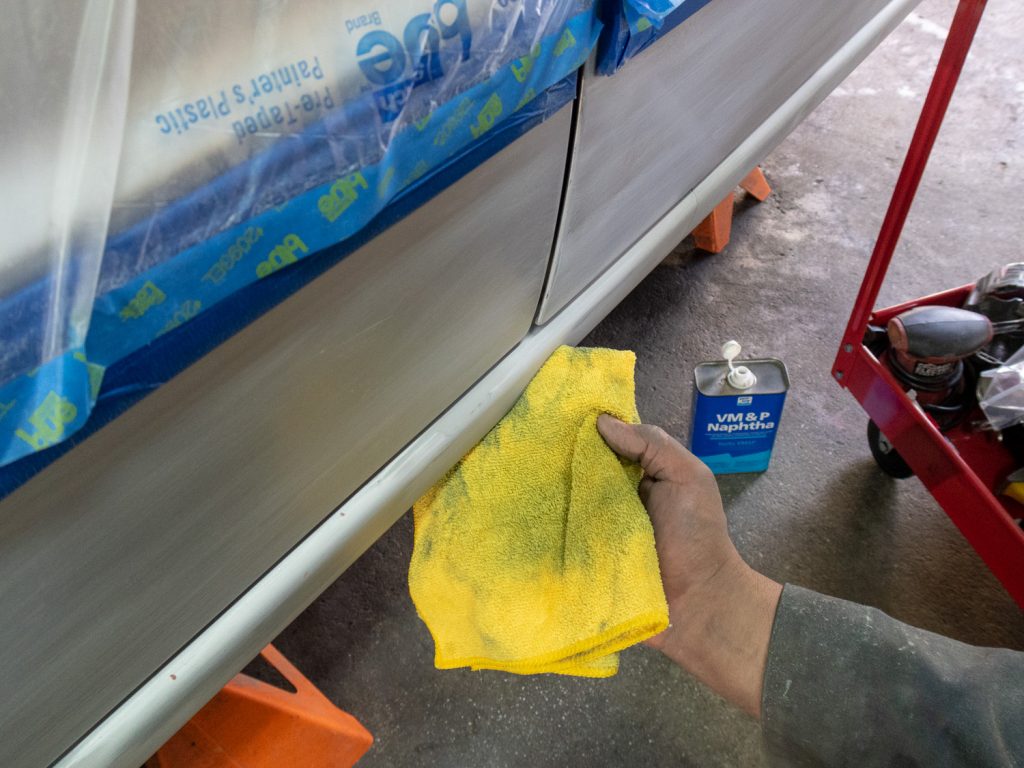
Once it’s completely dry (warm, dry conditions needed) start with a light coat of etching primer, like U-Pol Acid #8. This chemically etches the surface and provides the best possible surface. Follow that with primer then topcoat using the recommended number of coats (two each of primer and basecoat is a good bet). High build primer (also known as primer filler) is one which better covers fine blemishes and is a substitute for basic primer.
For using a classic in all-weathers, some restorers prefer to powder coat suspension and other chassis components which is fine, but it involves a lot of time and expense, is not authentic and to my eyes, doesn’t look as good when you get under the car. Special finishes like Hammerite Smooth are a more robust alternative which sit somewhere in between cellulose and powder coat but in recent years and probably due to paint regulations, it appears to be less dense and harder to get a good depth of colour. Because it doesn’t flash off quickly, it’s also messier to use.
For bodywork finishing using rattle cans, the same tips apply. When blending into adjoining paint from a bare metal area, feather the edges going down through the grades and ending with something super-fine like 7000 wet and dry to get a scratch free finish and use fingers to feel there’s no step. I like to mask off a little way into the painted area, apply primers, and then a sealer isolator is a good idea to prevent paint reaction and lines appearing over the join between metal and paint.
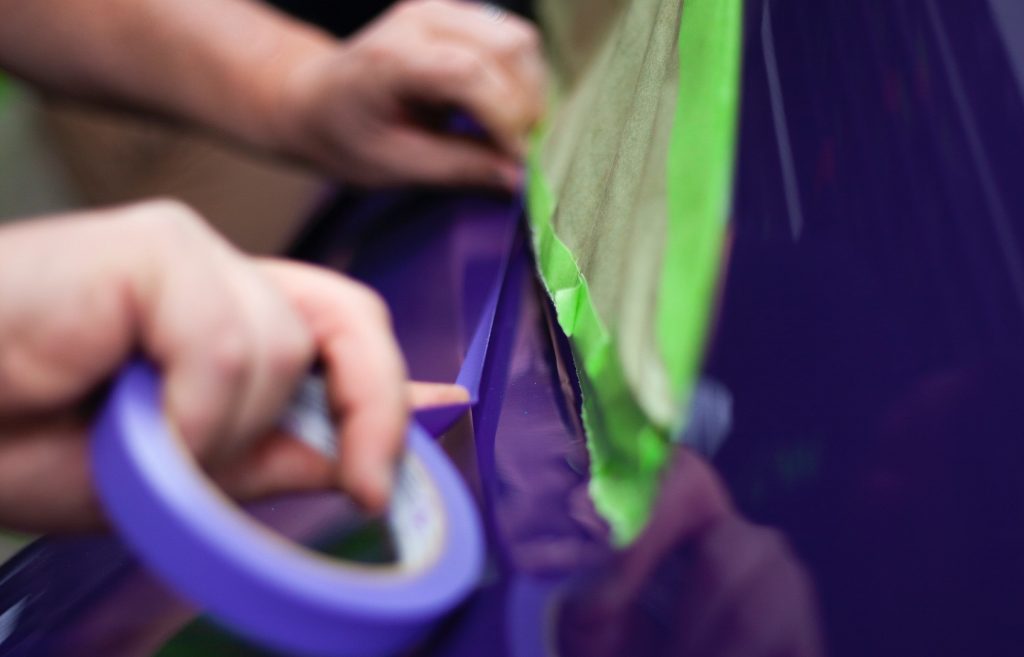
Before applying top coat, I remove the mask, then lightly feather the primer edge with very fine wet and dry. Either re-mask further back from the primer edge or use a hole cut in cardboard and held just away from the job to get a soft edge on the top coat. After at least several days when the paint is hard enough, it can be blended in with rubbing compound followed by your favourite cutting compound.
Bear in mind that I reserve this last bit selectively for minor repairs on an older finish and choose my battles carefully. For me though, the best place for a rattle can is component painting during a refresh, whether it be an engine block or smaller components. Colour matching on panels can be difficult because the paint ages and different formulations of paint give slightly different shades. It’s also ideal to blend at the edge of something or a roll in a panel, so the light change helps conceal the join.
Original paint codes can be researched on line and local paint shops can mix and supply these in aerosol cans to ensure exactly the right colour match. An example is painting my Mustang’s GT390 engine in the original colour during the rebuild. I gave my supplier the code for Ford Corporate Blue before realising that Ford Europe blue was much lighter than the dark, mid sixties Ford US Blue. Even that changed to a lighter blue so thorough research on colours and dates is worth doing if authenticity matters to you.
Read more
Socket Set: How to decide whether to fix-up or restore a car
Reviewed & Rated: Touch-up paint kits
There’s no such thing as fast fibre when painting a fibreglass car

