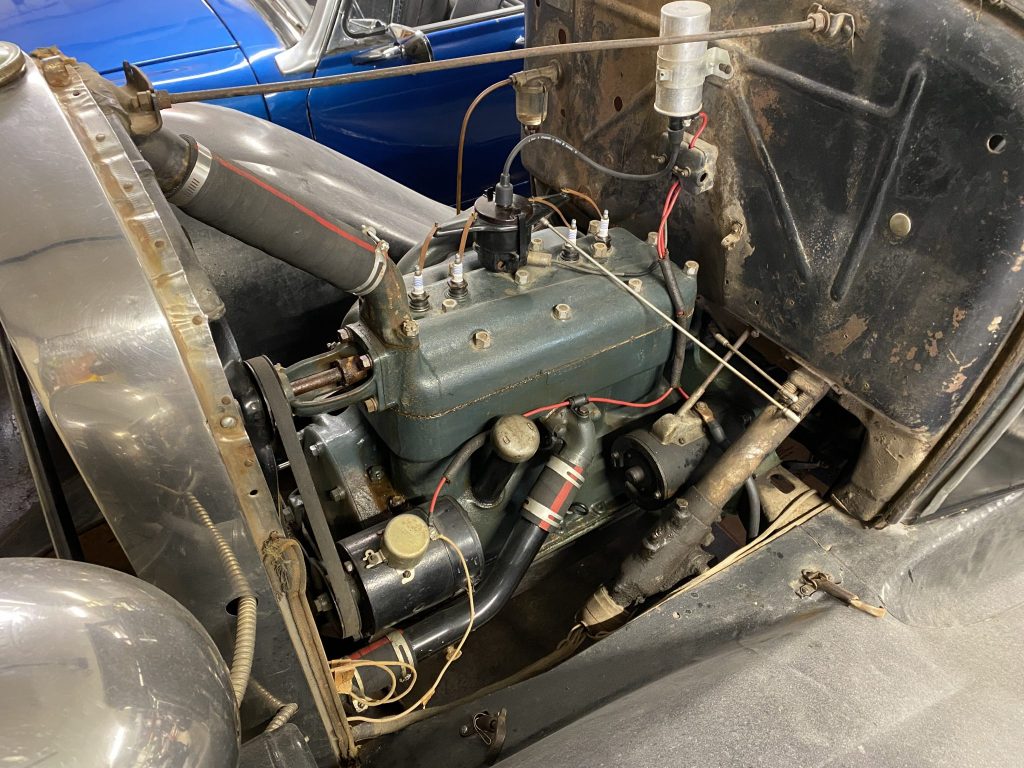
The fit and finish of a car’s exterior often gets all the attention, and most classic car owners will happily debate polishes, wax and paint sealant for hours on end. But whether at a car show or when making conversation with a fellow car enthusiast at the petrol station, if you want to find who is really good at caring for their classic at a car show, don’t look at the bonnet – look under it. A spotless engine bay is tough to achieve and even harder to maintain.
It’s worth it, though, because a clean engine compartment is not only attractive but also conducive to spotting any leaks or issues when they start, rather than leaving them to be camouflaged by grime.

If your engine is a dingy, oily mess and you want to bring it back to a respectable condition, here are a few tips so you can do it safely. And once you’ve done that, why not have a go at detailing your model car collection?
Engine cleaning tip 1

Don’t: Be quick to take things apart
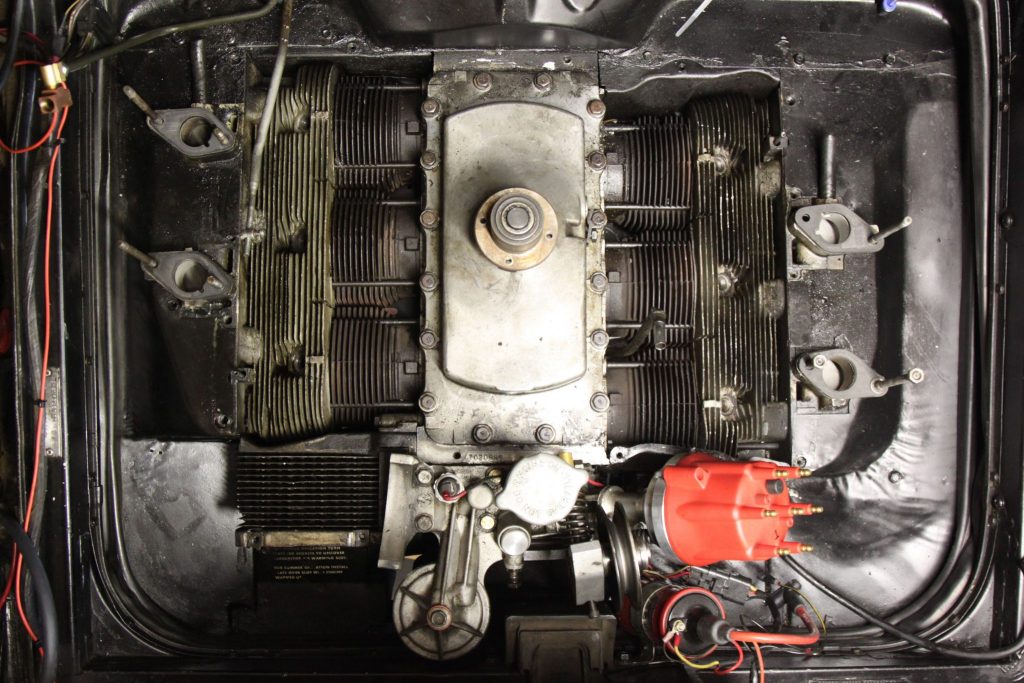
Do: Take a “before” picture
If the engine is running smoothly, I’m hesitant to take anything apart to clean it, and I’d recommend you think the same way. The old adage of “if it ain’t broke, don’t fix it” has treated me well for many years. However, to get a deep clean you must dive deep. Before you start, grab your camera and snap a picture. This photography guide should be helpful.
Even if you have a great memory and a wealth of reference materials, a photo can still prove invaluable. Sometimes, all it takes is a simple glance at a “before” picture to know where that hose with the weird bend was attached. It also serves as great evidence of the improvement you make.
Engine cleaning tip 2

Don’t: Don’t go crazy with the engine cleaner product
Do: Use chemicals appropriate for the job
It’s on a shelf at every auto parts store – you’ll be tempted to grab that aerosol can of foaming degreaser and pretend you are the greatest graffiti artist known to man as you fog the entire engine compartment. Don’t do it.
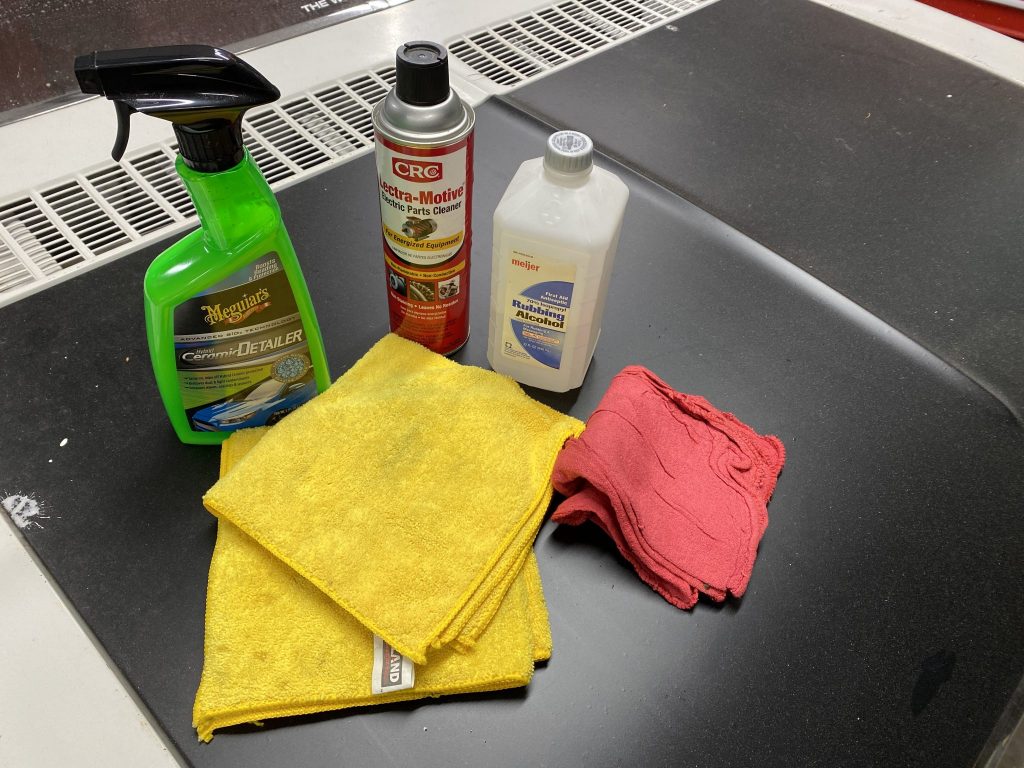
Aerosol engine cleaner works great for engines that are very heavily soiled, but most of the time that stuff is overkill. It’s also deceptively involved; if you don’t rinse off all the residue, it will cause corrosion. Instead, spend a little extra time by using a few clean rags, spraying your detailer of choice on the rag, and simply wiping away the dirt. I typically start with a quick detailer and, if the grime is stubborn, I progress to more aggressive chemicals, such as brake or carburettor cleaner.
This more time-consuming process has two benefits: it prevents chemicals from forcing their way into nooks and crannies they shouldn’t be in, and helps you become familiar with those same nooks and crannies. That way, if you spot a lot of oily buildup in one place, you’ll know to investigate to see whether there’s a leak that needs to be cured.
For a guide to the best engine cleaning solutions available, try this comparison from Auto Express, which ranks Autoglym and Comma highly.
Engine cleaning tip 3

Don’t: Grab the pressure washer
Do: Use the garden hose
If you need to wash off the grit and grime, resist the urge to reach for the pressure washer. Both a home pressure washer and the wand at a local DIY car wash will eject water at a dangerously high pressure and threaten just about any part of your engine compartment. The jet can easily push past gaskets, into electrical panels and connections, and also into grease fittings.
If you discover the engine compartment is so filthy that a rinse-down is needed, take the time to seal all electrical connections and crankcase openings (the oil fill, for example) before using a garden hose. If the garden hose doesn’t provide enough pressure, gently scrub with a soft bristle brush to break the gunk free. A handy tip is to invest in a motorbike or bicycle cleaning kit, as a lot of the brushes included will work a treat in a car’s engine bay.
What’s your process for cleaning an engine compartment? Share your tips with other drivers, in the Hagerty Community, below.


Good post! Every car owner should read this once.